A Comprehensive Guide to Choosing the Right Rework Station for Your Workshop
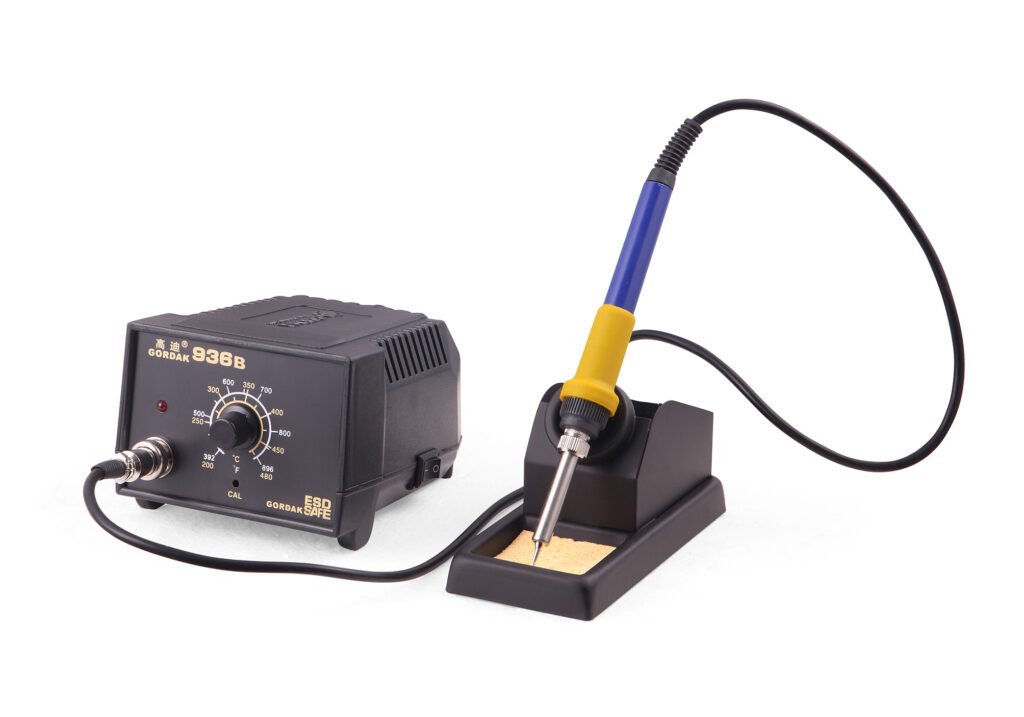
When it comes to maintaining and repairing electronic devices, having the right tools is crucial. A rework station is one such tool that every electronics professional or enthusiast should consider for their workshop. However, with so many options on the market, choosing the right rework station can be challenging. This guide by Gordak Electric will help you navigate through the key factors to consider when selecting a rework station that meets your needs. Understanding What a Rework Station Is A rework station is a versatile tool designed for soldering and desoldering components on a printed circuit board (PCB). It is essential for tasks like replacing surface-mounted devices (SMDs), reflowing solder, or even repairing delicate components. Rework stations typically consist of a hot air gun, a soldering iron, and various nozzles and tips to suit different types of work. Key Features to Look For Additional Considerations Conclusion Choosing the right rework station is about matching the tool to your specific needs and ensuring it offers the features and reliability you require. By considering the factors outlined in this guide, you can confidently select a rework station that will serve you well in your workshop. Gordak Electric is committed to providing top-quality rework stations designed to meet the needs of professionals and hobbyists alike. For more information on our range of rework stations, or to discuss which model might be right for you, contact us at info@gordakelec.com. We’re here to help you make the best choice for your workshop.
Safety Tips for Soldering: Protecting Yourself and Your Equipment
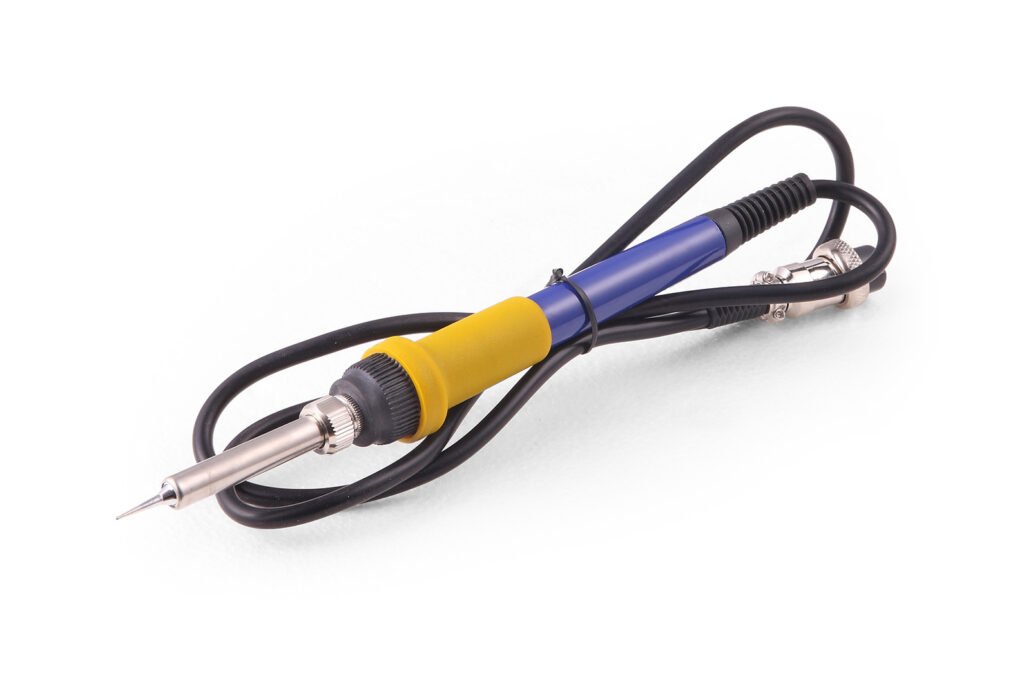
Soldering is a fundamental skill in electronics, but it comes with risks that can be mitigated with proper safety precautions. Protecting yourself and your equipment is essential for maintaining a safe and productive work environment. Here are some key safety tips to keep in mind when soldering. Personal Safety Equipment Safety Workspace Safety Safe Soldering Practices Electrical Safety Emergency Preparedness Conclusion Safety in soldering is paramount for protecting yourself, your equipment, and your work environment. By following these safety tips, you can minimize risks and ensure a safe and efficient soldering experience. Proper personal protective equipment, regular maintenance of tools, and a well-organized workspace are key to successful and safe soldering practices. For more information on Gordak’s range of precision soldering tools and safety equipment, contact us at info@gordakelec.com.
Essential Tools for a Professional Soldering Setup

A professional soldering setup requires a variety of tools to ensure precision, efficiency, and safety. Whether you’re working on small electronics projects or large-scale manufacturing, having the right tools can make a significant difference in the quality of your work. Here’s a guide to the essential tools for a professional soldering setup. 1. Soldering Iron or Soldering Station 2. Soldering Tips 3. Solder 4. Flux 5. Desoldering Tools 6. Tweezers 7. Magnification Tools 8. Work Surface and Mat 9. Fume Extractor 10. Wire Cutters and Strippers 11. Helping Hands and PCB Holders 12. Multimeter 13. Thermometer 14. Heat Gun 15. Cleaning Tools Conclusion A professional soldering setup is equipped with a variety of tools designed to enhance precision, efficiency, and safety. By investing in high-quality soldering irons or stations, a range of soldering tips, and essential accessories like flux, desoldering tools, and fume extractors, you can ensure the success of your soldering projects. Proper maintenance and organization of these tools will further contribute to a productive and effective soldering environment. For more information on Gordak’s range of precision soldering tools and accessories, contact us at info@gordakelec.com.
The Role of Temperature Control in Precision Soldering

Temperature control is a critical factor in precision soldering, impacting the quality, efficiency, and reliability of solder joints. Whether you are working on intricate electronics, delicate components, or large-scale projects, maintaining the right temperature is essential. Here’s a comprehensive look at the role of temperature control in precision soldering and why it’s so important. Why Temperature Control Matters Features of Effective Temperature Control Practical Tips for Temperature Control Advanced Temperature Control Technologies Conclusion Effective temperature control is fundamental to achieving high-quality solder joints and ensuring the longevity and reliability of electronic components. By using soldering tools with adjustable and precise temperature settings, monitoring the temperature consistently, and making necessary adjustments, you can significantly improve your soldering results. Investing in a high-quality soldering station with advanced temperature control features will enhance your productivity and the quality of your work. For more information on Gordak’s range of precision soldering tools and temperature-controlled soldering stations, contact us at info@gordakelec.com.
Maintaining Your Soldering Iron: Best Practices
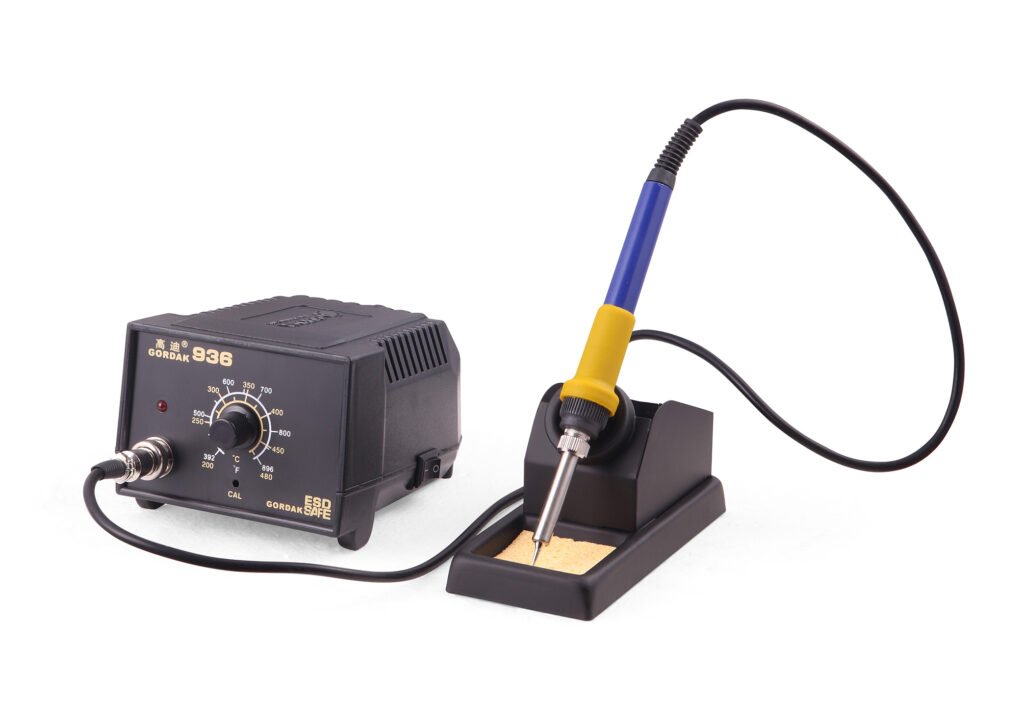
Proper maintenance of your soldering iron is crucial for ensuring its longevity, performance, and the quality of your soldering work. A well-maintained soldering iron heats up efficiently, transfers heat effectively, and produces strong, reliable solder joints. Here are some best practices for maintaining your soldering iron. 1. Regular Cleaning of the Soldering Tip The soldering tip is the most critical part of your soldering iron. Keeping it clean ensures good heat transfer and prevents oxidation. Follow these steps for regular cleaning: 2. Proper Tip Tinning Tinning the tip before and after each use helps maintain its condition and prolongs its lifespan. Here’s how to do it: 3. Temperature Management Using the correct temperature is crucial for maintaining your soldering iron. Here are some tips: 4. Use Quality Solder and Flux High-quality solder and flux are essential for maintaining the soldering iron and ensuring good solder joints. Consider the following: 5. Proper Storage Proper storage of your soldering iron prevents damage and extends its life. Here’s how to store it correctly: 6. Replace Tips When Necessary Soldering tips wear out over time and need to be replaced. Signs that it’s time to replace the tip include: 7. Inspect and Maintain Connections Regularly check the connections of your soldering iron to ensure it operates efficiently and safely. Here’s what to look for: 8. Calibrate Your Soldering Iron Periodic calibration of your soldering iron ensures it operates at the correct temperature. Here’s how to do it: 9. Preventative Maintenance Schedule Implementing a preventative maintenance schedule helps keep your soldering iron in top condition. Consider the following: Conclusion Maintaining your soldering iron with regular cleaning, proper temperature management, and using quality materials ensures it remains in excellent condition and performs reliably. By following these best practices, you can extend the life of your soldering iron, achieve high-quality solder joints, and enhance your overall soldering experience. For more information on Gordak’s range of precision soldering tools and accessories, or for additional maintenance tips, contact us at info@gordakelec.com.
Top Tips for Using Precision Soldering Tools
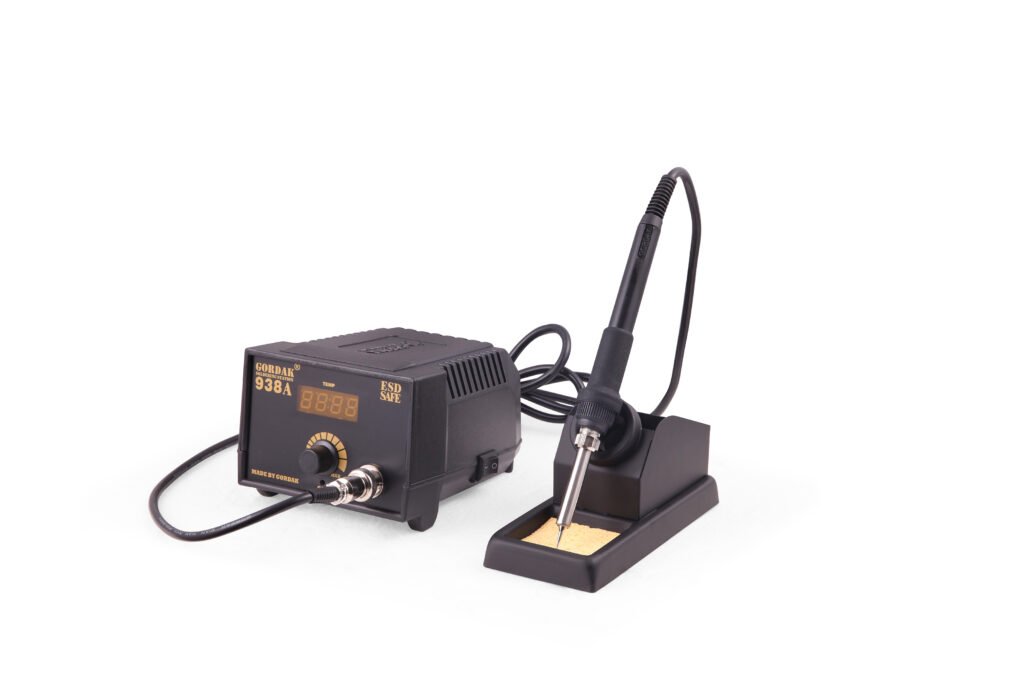
Precision soldering tools are essential for achieving high-quality solder joints in electronics assembly and repair. Whether you are a seasoned professional or a beginner, mastering the use of these tools can significantly improve your efficiency and the quality of your work. Here are some top tips for using precision soldering tools effectively. 1. Choose the Right Soldering Iron and Tips Selecting the appropriate soldering iron and tips is crucial for precision work. Here’s what to consider: 2. Set the Correct Temperature Using the correct temperature is vital for achieving strong and reliable solder joints. Here are some guidelines: 3. Pre-Tin the Soldering Tip Pre-tinning the soldering tip helps improve heat transfer and ensures a cleaner solder joint. Follow these steps: 4. Use Quality Solder and Flux High-quality solder and flux are essential for reliable solder joints. Consider the following: 5. Apply Heat Efficiently Efficient heat application is crucial for precision soldering. Here’s how to do it: 6. Avoid Excessive Heat and Overheating Overheating can damage components and PCBs. Here’s how to avoid it: 7. Clean and Maintain Your Tools Regular maintenance of your soldering tools ensures their longevity and performance. Follow these tips: 8. Practice Proper Soldering Techniques Developing good soldering techniques is essential for precision work. Here are some best practices: 9. Work in a Safe Environment Safety is paramount when working with soldering tools. Keep these safety tips in mind: Conclusion Mastering precision soldering requires practice, the right tools, and adherence to best practices. By choosing the correct soldering iron and tips, setting the appropriate temperature, and following efficient techniques, you can achieve high-quality solder joints consistently. Regular maintenance and safety measures will ensure that your soldering tools remain reliable and your work environment safe. For more information on Gordak’s precision soldering tools and accessories, contact us at info@gordakelec.com. Happy soldering!
A Comprehensive Guide to SMB Rework Stations
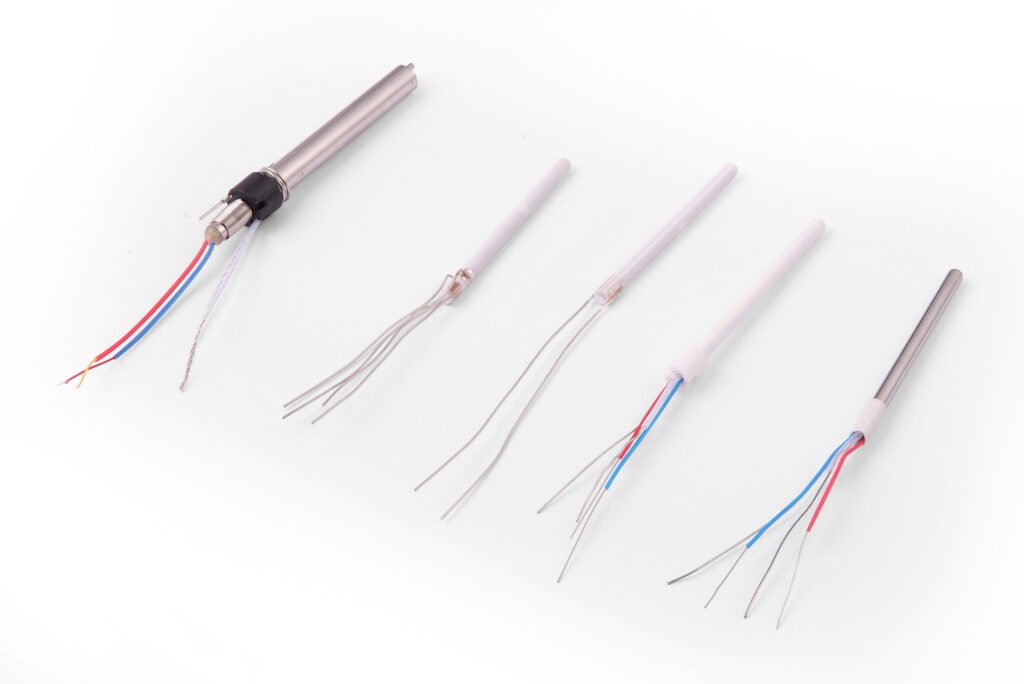
In the world of electronics repair and manufacturing, SMB (Surface-Mount Technology) rework stations are indispensable tools. These stations are designed to repair and rework surface-mounted components on printed circuit boards (PCBs), offering precision and efficiency. Whether you are a professional technician or a hobbyist, understanding the capabilities and features of SMB rework stations can help you choose the right one for your needs. Here is a comprehensive guide to SMB rework stations. What is an SMB Rework Station? An SMB rework station is a specialized piece of equipment used to remove and replace surface-mounted devices (SMDs) on PCBs. Unlike through-hole components, SMDs are mounted directly onto the surface of the PCB, requiring precision tools to handle them. SMB rework stations typically consist of a hot air rework tool, a soldering iron, and various accessories to aid in the rework process. Key Features of SMB Rework Stations Choosing the Right SMB Rework Station When selecting an SMB rework station, consider the following factors: Tips for Using SMB Rework Stations Conclusion SMB rework stations are essential tools for anyone involved in electronics repair and manufacturing. By understanding the key features and factors to consider when choosing a rework station, you can select the right equipment for your needs. Whether you are dealing with delicate SMDs or large components, a high-quality SMB rework station will enhance your precision, efficiency, and overall success in your projects. For more information on Gordak’s range of SMB rework stations and other soldering tools, contact us at info@gordakelec.com.
Choosing the Right Soldering Station for Your Needs

Selecting the perfect soldering station for your needs can be a game-changer in your electronics and soldering projects. Whether you are a hobbyist, a professional, or someone working in a specialized field, the right soldering station can significantly enhance your efficiency, precision, and overall experience. Here are some key factors to consider when choosing a soldering station that suits your requirements. 1. Types of Soldering Stations There are various types of soldering stations, each designed for specific applications. Understanding the differences can help you make an informed decision: 2. Temperature Control Temperature control is a critical feature in a soldering station. Different soldering tasks require different temperatures. For instance, delicate components need lower temperatures, while larger joints may need higher temperatures. Look for a soldering station that offers: 3. Power and Wattage The power and wattage of a soldering station determine how quickly it heats up and how well it can maintain the set temperature. Higher wattage stations heat up faster and recover more quickly, making them suitable for heavy-duty tasks. For most hobbyist and light professional work, a 40-60 watt station is sufficient, while more demanding tasks might require 70 watts or more. 4. Soldering Tips and Accessories A good soldering station should come with a variety of tips and accessories to accommodate different tasks. Consider the following: 5. Ergonomics and Safety Comfort and safety are paramount, especially if you will be using the soldering station for extended periods. Look for features like: 6. Brand and Reliability Investing in a reputable brand ensures that you get a reliable and durable soldering station. Brands like Gordak are known for their quality and performance, offering a range of stations to suit various needs. Conclusion Choosing the right soldering station involves considering the type of work you will be doing, the features you need, and your budget. By focusing on temperature control, power, accessories, ergonomics, and brand reliability, you can find a soldering station that will meet your needs and enhance your soldering projects. Whether you are just starting out or looking to upgrade your current setup, taking the time to select the right soldering station will pay off in the quality and efficiency of your work. Happy soldering! For more information on Gordak soldering stations and other precision soldering tools, contact us at info@gordakelec.com.
Common Soldering Problems And How To Fix Them

Have you been struggling to make the most of your soldering projects? Or perhaps you are just looking to get started with soldering and want to ensure you’ve got the necessary skills and knowledge in place first to help. Whatever the case might be, today, we’re looking at some of the most common soldering problems you should know about to help you decide how to approach these (and how to fix the issues, accordingly). 5 Soldering Problems and How To Fix Them Soldering can be a somewhat daunting task, and with this in mind, it can be easy to fall into a few common traps. Nevertheless, there are several easy steps you can take to help ensure you solder correctly and without making a mistake, and below are just a few of the most common issues you should be aware of. #1 Disturbed Joints Disturbed joints can be among the more common issues when soldering. These occur when the components or materials being soldered are moved while the solder is setting, which can cause the surface of the solder to appear rough; the displaced solder may also prevent a proper bond or connection from forming. Luckily, this can be prevented by ensuring parts are held tight while the solder is setting, and if needed, such problems can be repaired by reheating and carefully moving the solder into place. #2 Solder Starving “Solder starving” is an issue that arises due to too little solder being applied to the components; as such, poor or weak connections are made. This might result in insufficient electrical contact and poor joint strength, also leading to stress cracks over time. In order to correct this issue, re-heating the joint and adding a small amount of additional solder can potentially help by creating stronger bonds, instead. #3 Cold Solder Joints It’s easy to make a mistake with temperature when soldering, and cold joints are often formed when the soldering iron simply isn’t at the right temperature to begin with. This can prevent the solder from melting or flowing efficiently, which can in turn lead to poor sold placement or amounts. In turn, this can often leave a rough or unfinished look, and the solder may not form a strong bond, impacting the final results of the soldering work. #4 Overheating Opposite to leaving the solder too cool, overheating can also be a major issue – often one of the more extreme problems one might face when soldering, in fact. In many cases, high temperatures can scorch or burn the components and materials, leaving a burnt residue behind that is known as flux. Fortunately, such issues can potentially be fixed carefully with an isopropyl alcohol solution; however, more serious burns may need to be carefully scraped off, which can cause damage in itself. #5 Solder Bridges As a final issue to keep in mind, applying too much solder in close proximity to another solder joint can lead to solder bridges. This can create an unintended connection, resulting in short-circuiting or even complete inoperability, depending on the nature of the part and the severity of the solder bridge. As such, taking care to prevent this is hugely important; if you do experience any solder bridges, these may need de-soldering and fresh solder. If you have further questions, feel free to contact us at info@gordakelec.com.
How To Solder A Circuit Board Without Damaging Components
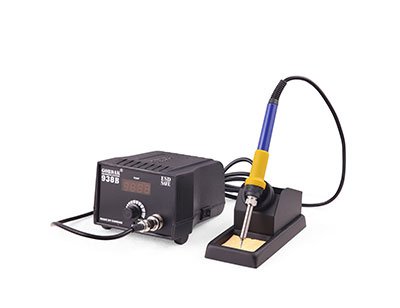
Soldering can be an incredibly effective technique to use – however, making sure that you have soldered carefully is hugely important. In line with this thought, today, we’re looking at some of the key tips you should be following to help avoid causing damage to your circuit boards while soldering; hopefully, this will allow you to find the optimal approach for your own circuit board soldering efforts. 4 Tips To Avoid Damaging Circuit Boards When Soldering There are a number of techniques to note when soldering delicate electronics, such as circuit boards. Indeed, it can often be easy to make mistakes when soldering; as such, knowing the potential issues may help avoid damaging the components you are attempting to solder. #1 Pick The Correct Soldering Iron It may seem obvious, but one of the most important factors to keep in mind when soldering to ensure you are using the correct soldering iron is crucial when it comes to delicate electronics. Typically, the best soldering irons are those with variable temperature settings, which allow you to adjust the temperature accordingly to avoid damaging the circuit board. Nevertheless, fixed temperature options can still be used; however, you should always make sure that your chosen iron is a suitable temperature for the project in question. #2 Invest in a Reworking Station If you do make a mistake, consider investing in a reworking station. Indeed, reworking stations are ideal for adjusting or removing solder; however, they should not be used to solder components together directly due to the lack of precision and control. #3 Use The Right Solder Material It’s not just the soldering iron that should be right for your project; choosing the right solder is another essential factor to consider as part of this. Indeed, different solders have different properties, which can potentially damage your materials. There are two main types of solder used in electronics: lead-based and non-lead-based solder. Lead-based solder offers a lower melting point and is generally easier to work with, but there are naturally potential health risks associated with these, and high temperature irons could cause excessive melting and damage. Alternatively, non-lead-based solder may have a slightly higher melting point, which can be easier to control; however, it is better for the environment and your health. Choosing the right solder can also influence the chance of accidentally damaging the board, so take care with this to select the most appropriate option. #4 Always Use Additional Supports Soldering can be an incredibly complex and intricate process; as such, making sure you have plenty of supports in place is crucial to keep things stable and steady. Support stands can help hold the circuit board in place while you solder, preventing wobbling and risk; this also helps to free up both hands, allowing you to focus more carefully on the task at hand. Some stands even come with a magnifier to help when working on very small or intricate electronics, which helps reduce the risk of making a mistake on your projects. If you have further questions, feel free to contact us at info@gordakelec.com.
