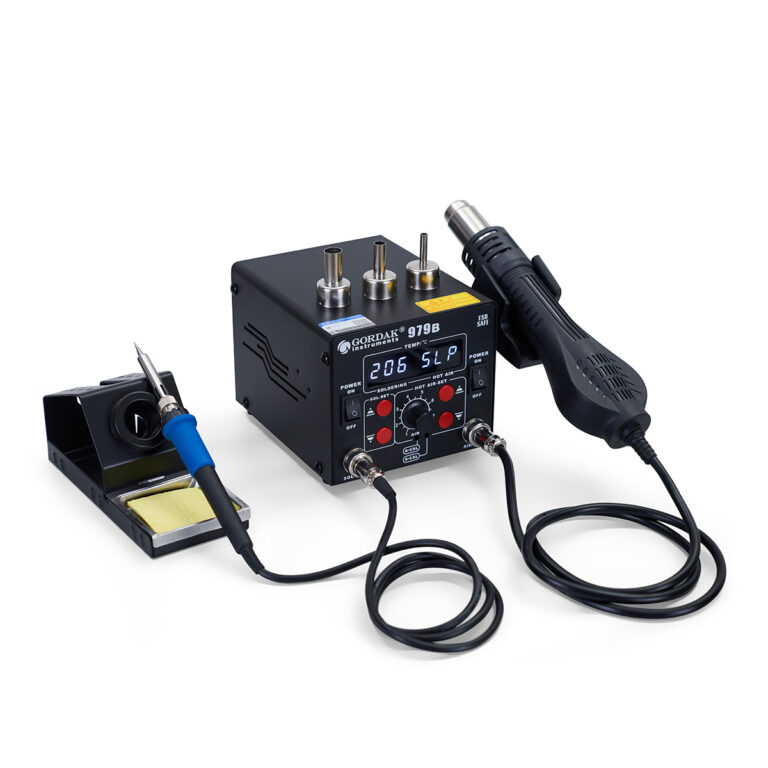
Repairing a smartphone motherboard requires precision, stability, and the right tools. A two-in-one soldering and hot air rework station is the go-to choice for professionals and technicians because it combines two essential functions in one compact machine: a soldering iron and a hot air gun.
In this guide, we’ll walk you through a step-by-step process to repair a smartphone motherboard using a two-in-one station from Gordak — the reliable choice trusted by electronics technicians worldwide.
Why Use a Two-in-One Station?
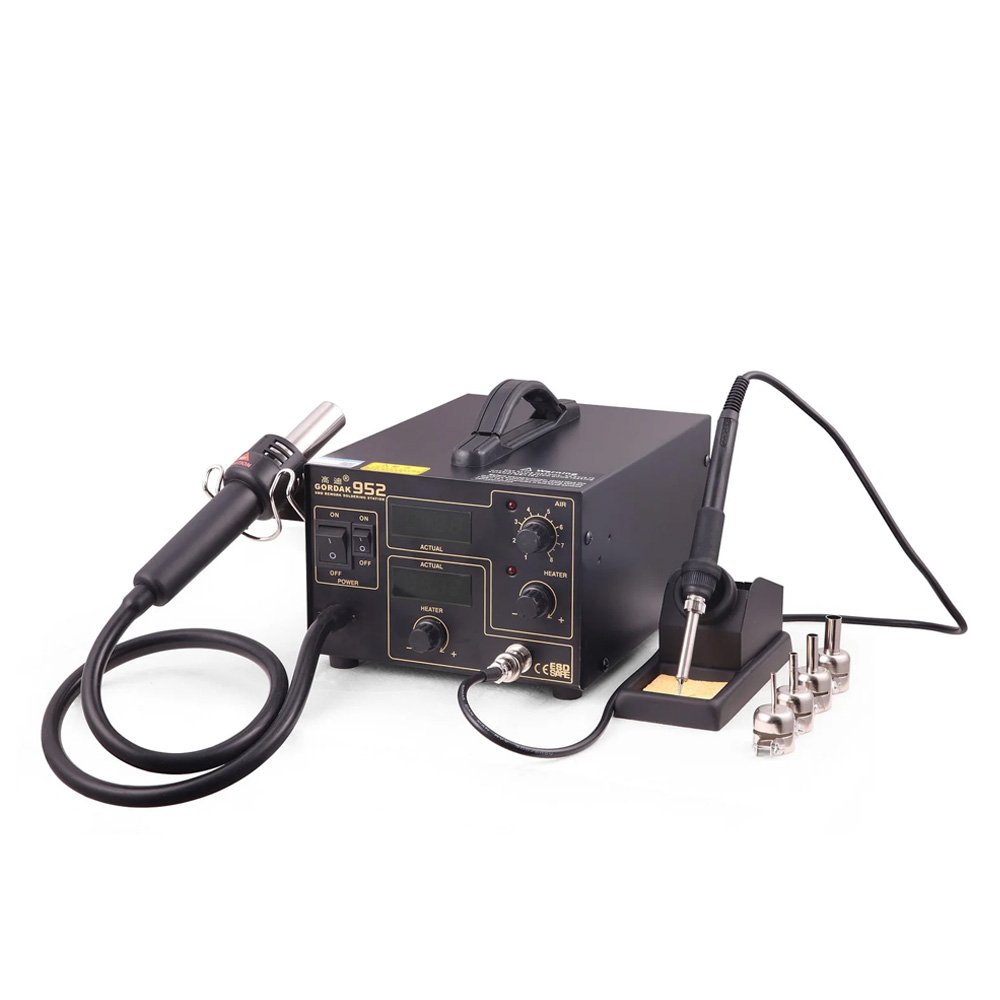
A two-in-one station streamlines your workflow by giving you both tools — a soldering iron for component attachment and a hot air gun for chip rework — in a single unit. Gordak’s stations feature digital temperature control, fast heating, and long service life, making them ideal for delicate smartphone repair work.
Step-by-Step Guide to Repairing a Smartphone Motherboard
Step 1: Diagnose the Fault
Start by performing a basic diagnosis:
- Visual inspection: Look for signs of burnt components, corrosion, or physical damage.
- Multimeter testing: Check for continuity, short circuits, or voltage irregularities.
- Thermal camera (optional): Spot overheating chips.
Once you’ve identified the faulty area or component, move on to disassembly.
Step 2: Safely Disassemble the Phone
- Power off the phone and remove the battery.
- Carefully open the case using plastic tools to avoid scratches.
- Unscrew and lift the motherboard from the frame using anti-static tools.
Be sure to ground yourself to avoid ESD (Electrostatic Discharge) damage.
Step 3: Prepare the Work Area
- Use a clean, static-free workspace.
- Mount the motherboard on a PCB holder for stability.
- Power on your Gordak two-in-one station and set appropriate temperatures:
- Hot air gun: ~280–320°C
- Soldering iron: ~300°C
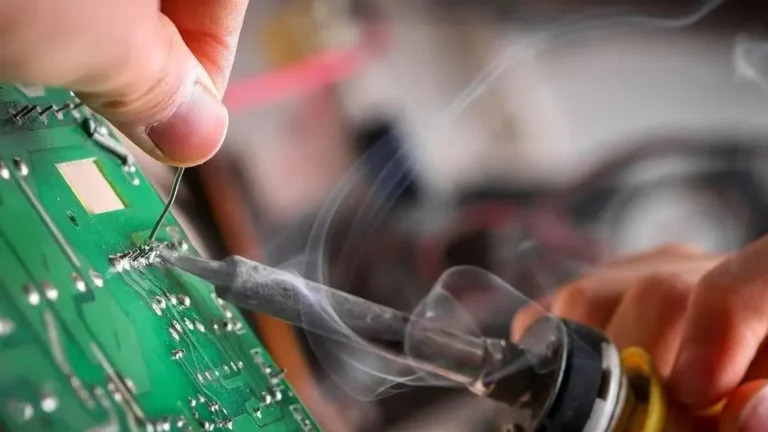
Step 4: Remove the Faulty Component
- Apply flux to the area.
- Use the hot air gun to evenly heat the chip or component.
- Gently lift it using tweezers once the solder has melted.
- Clean residual solder with solder wick or a desoldering pump.
Step 5: Replace with a New Component
- Clean the pads with isopropyl alcohol.
- Apply fresh solder to the pads.
- Place the new component accurately on the board.
- Use the hot air gun or soldering iron (depending on the component type) to secure it in place.
Step 6: Inspect and Test
- Use a microscope or magnifier to inspect solder joints for cold solder or bridges.
- Reassemble the phone and perform a functionality test:
- Power on
- Touchscreen response
- Connectivity
- Charging and other features
If all checks pass, your repair is complete.

Tips for Success
- Use flux generously to ensure smooth reflow and reduce oxidation.
- Avoid overheating the board — work quickly and efficiently.
- Choose Gordak models with temperature stability and anti-static design for professional-grade repairs.
Why Choose Gordak?
At Gordak, we provide high-quality, durable two-in-one soldering stations with excellent temperature control, ESD protection, and long-lasting components. Our factory prices make us the preferred choice for dealers, workshops, and repair technicians worldwide.
Interested in wholesale pricing or dealership? Contact us at info@gordakelec.com.