Laptop motherboard repair requires precision, the right tools, and experience—especially when dealing with compact components like BGAs, SMD capacitors, or USB ports. A two-in-one soldering and rework station combines a soldering iron and a hot air rework tool, making it an essential device for technicians and repair shops alike.
Here’s how a 2-in-1 station can streamline your laptop motherboard repair workflow and what to consider when using one.
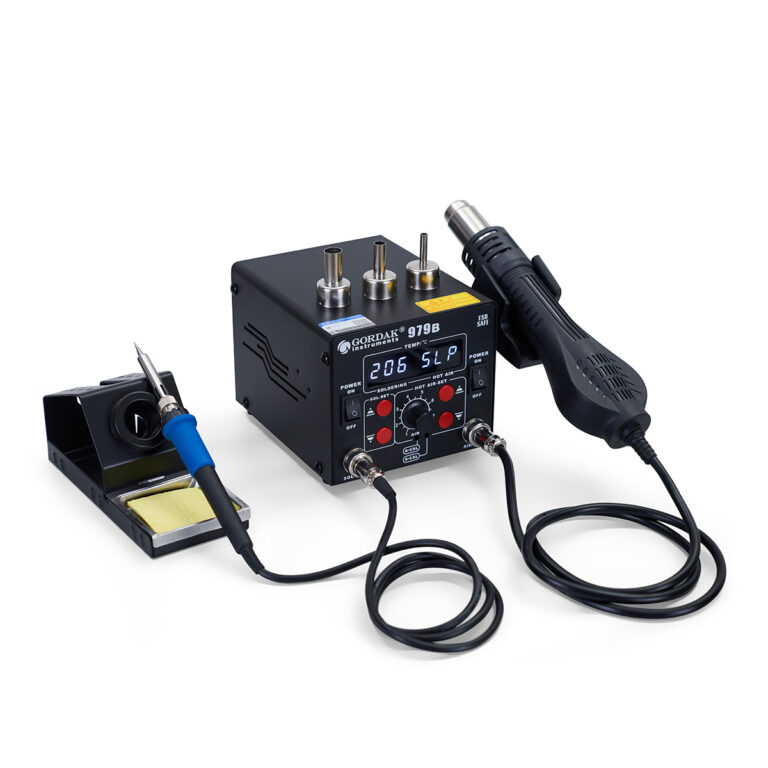
Why a Two-in-One Station Is Ideal for Laptop Repairs
Laptop motherboards are densely packed with sensitive components, making traditional tools inefficient and risky. A two-in-one station provides:
- Compact footprint for tight workbenches
- Independent soldering iron and hot air gun for versatile use
- Precise temperature and airflow control for delicate components
- Faster workflow with fewer tool changes
At Gordak, we design our two-in-one stations to deliver professional-grade reliability, making them perfect for laptop repair specialists.
Step-by-Step: Laptop Motherboard Repair with a 2-in-1 Station
1. Diagnosis and Preparation
Before soldering, identify faulty components using a multimeter or diagnostic software. Then secure the motherboard on an ESD-safe mat and connect your two-in-one station.
Set:
- Hot air gun temperature: ~280–350°C (depending on the component)
- Airflow: medium to high, adjustable depending on the size and proximity of components
- Soldering iron: ~300–350°C with an appropriate tip
2. Desoldering Damaged Components
Use the hot air gun to heat and remove faulty chips, capacitors, or ports. Always preheat the surrounding area evenly to avoid PCB warping. Use tweezers to gently lift components once the solder melts.
3. Cleaning and Surface Preparation
Clean the pads with isopropyl alcohol and solder wick to remove old solder. This ensures better contact and reduces the chance of cold joints.
4. Soldering the New Component
Apply flux to the pads and position the new component accurately. Use the soldering iron for through-hole or small SMD parts, or the hot air gun for larger ICs. Monitor alignment carefully during reflow.
5. Post-Repair Testing
After soldering, inspect the joints under a microscope. Reconnect the motherboard and test the system with basic peripherals to verify the repair.
Tips for Better Results
- Use different nozzle sizes to control airflow focus
- Enable auto-cooling mode to extend the hot air gun’s lifespan
- Regularly clean and replace tips and nozzles for consistent performance
- Choose ESD-safe and temperature-stable stations like Gordak’s to protect components
Why Choose Gordak?
Gordak’s two-in-one soldering and rework stations are engineered for professionals who demand reliability and precision. With:
- Independent digital control systems
- Fast heating elements
- Adjustable airflow and temperature
- ESD-safe design
- Factory-direct pricing for dealers
We help repair shops and technicians worldwide perform high-quality repairs efficiently and affordably.
Need help choosing the right model for your laptop repair shop? Contact us at info@gordakelec.com.
Two-in-One Rework & Soldering Stations
Two-in-One Soldering and Rework Station: What Is It and Why You Need One
Why Professionals Prefer 2-in-1 Soldering Stations for PCB Repair
Comparing Single vs. Two-in-One Stations: Which Is More Cost-Effective?
Top Benefits of Using a Two-in-One Soldering and Rework Station
How to Use a Two-in-One Soldering and Rework Station Like a Pro
Maintenance Tips for Your Two-in-One Soldering and Rework Station
Top 5 Features to Consider in a Professional 2-in-1 Rework Station
Why Gordak’s Two-in-One Station Is a Smart Investment for Repair Shops