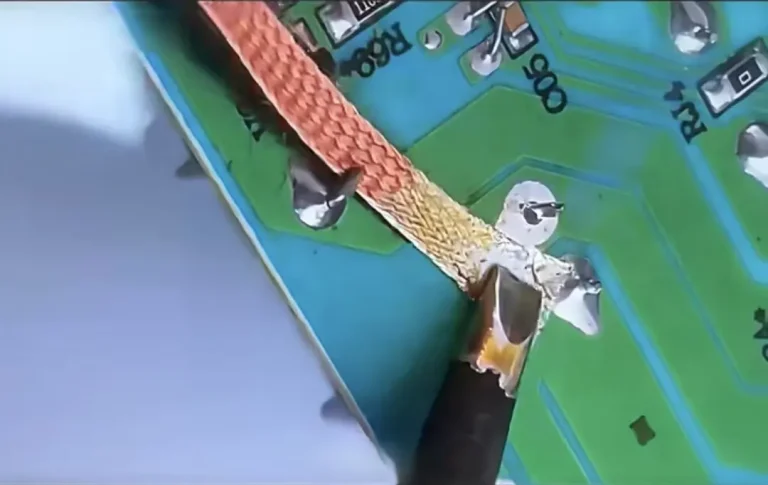
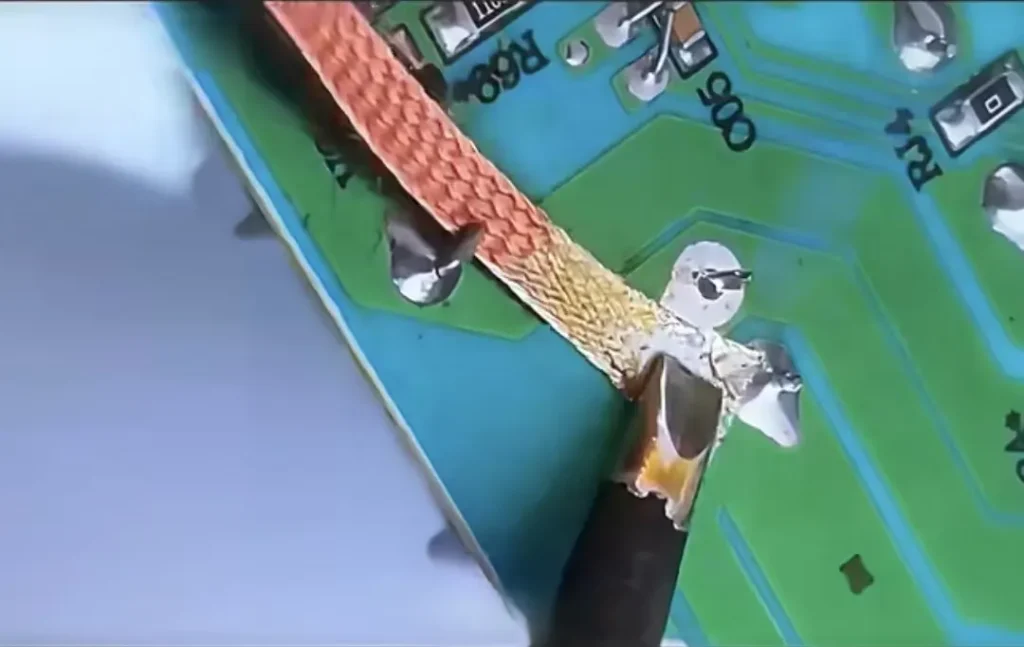
Desoldering wick is used by placing the copper braid over the solder joint, heating it with a soldering iron, and allowing the molten solder to be absorbed into the braid through capillary action. When used correctly, it removes excess solder quickly without damaging PCB pads or component leads.
This guide explains how desoldering wick works, when to use it, the correct desoldering technique, and how to solve common problems such as solder wick not absorbing solder.
What Is Desoldering Wick?
Desoldering wick, also called solder wick or desoldering braid, is a braided copper ribbon designed to remove molten solder from PCB pads and component leads.
Most desoldering wicks are pre-coated with a small amount of flux, which helps solder flow from the joint into the copper braid during heating.
Unlike a desoldering pump that removes solder by suction, desoldering wick absorbs solder through capillary action. Once the solder melts, it naturally flows into the fine copper strands, leaving less solder on the PCB.
Because it provides excellent control, desoldering wick is widely used for:
- PCB repair
- Electronics rework
- Removing excess solder
- Cleaning solder pads
- Fixing solder bridges
- Preparing pads for new components
How Does Desoldering Wick Work?
Desoldering wick removes solder using two principles:
- Heat transfer
- Capillary action
When the soldering iron heats the braid, heat passes through the copper strands to the solder joint.
Once the solder reaches its melting point, the molten solder is drawn into the braid by capillary action.
Flux further improves this process by removing surface oxides and allowing solder to flow more easily.
For the best results, all three elements must work together:
- Proper temperature
- Clean copper braid
- Adequate flux
If any of these factors are missing, solder removal becomes much more difficult.
When Should You Use Desoldering Wick?
Desoldering wick is ideal when precision is more important than speed.
Common applications include:
- Removing excess solder after soldering
- Eliminating solder bridges
- Cleaning PCB pads before installing new components
- Removing residual solder after using a desoldering pump
- Repairing fine-pitch IC solder joints
- Correcting soldering mistakes during PCB assembly
It is particularly effective for SMD components and small solder joints where precise solder removal is required.
Tools and Materials You Need
Before starting, prepare the following tools:
- Temperature-controlled soldering iron
- Desoldering wick
- Rosin flux or no-clean flux
- Soldering iron stand
- Brass wool or brass sponge
- Isopropyl alcohol for cleaning
- Tweezers (optional)
- PCB holder (recommended)
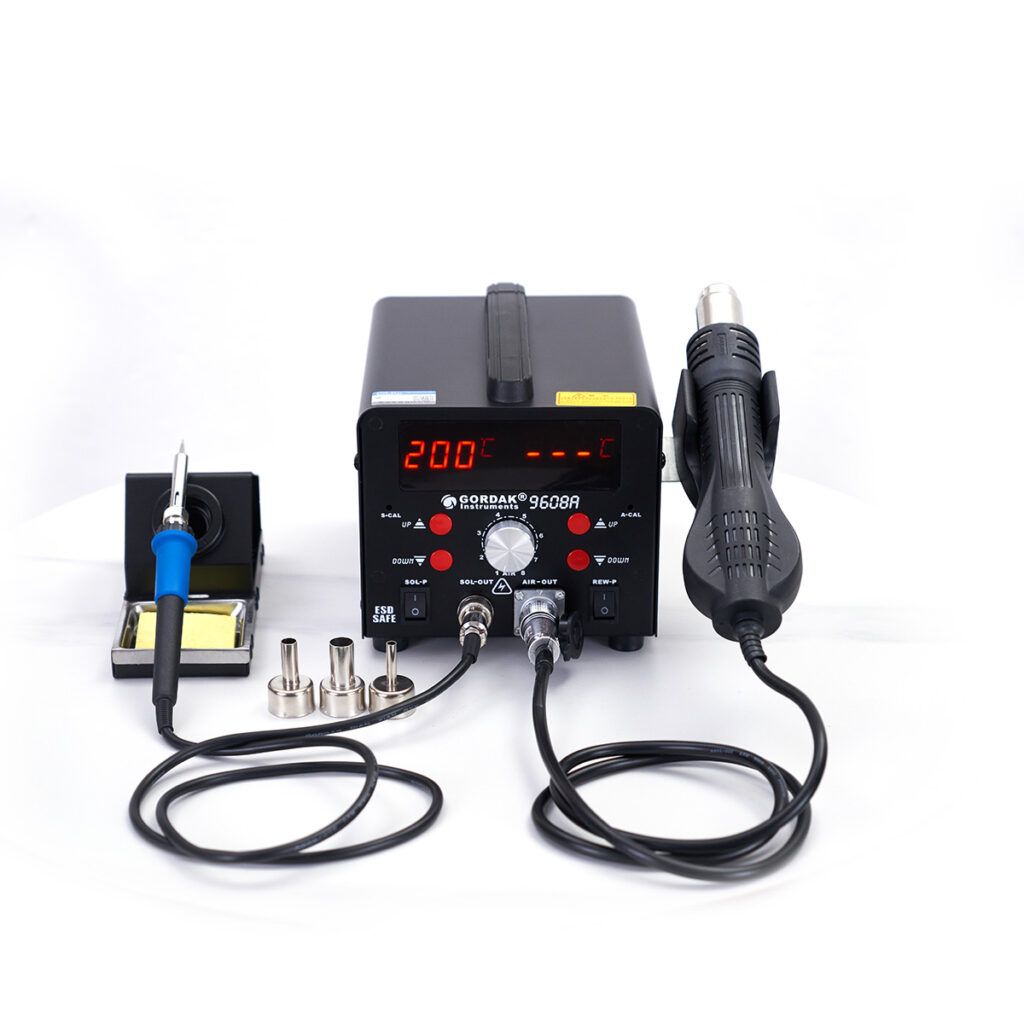
Using a temperature-controlled soldering station provides more consistent heat transfer and reduces the risk of PCB damage.
How to Use Desoldering Wick Step by Step
Step 1 – Heat the Soldering Iron
Set the soldering station to an appropriate temperature.
Typical settings are:
Leaded solder
320°C–350°C
Lead-free solder
350°C–380°C
The exact temperature depends on the solder alloy, PCB thermal mass, and tip size.
Step 2 – Apply Additional Flux
Although many desoldering wicks contain flux, applying a small amount of fresh flux usually improves solder removal.
Additional flux helps:
- Reduce oxidation
- Improve solder wetting
- Increase heat transfer
- Speed up solder absorption
Professional technicians rarely rely on the flux already contained in the braid.
Step 3 – Position the Desoldering Wick
Place the braid directly on top of the solder joint.
Ensure it fully covers the solder that needs to be removed.
Avoid placing the soldering iron directly onto the PCB first.
The proper order is:
Soldering iron
↓
Desoldering wick
↓
Solder joint
This allows heat to transfer efficiently through the braid.
Step 4 – Heat the Wick
Press the soldering iron gently onto the braid.
After a few seconds, the solder should begin flowing into the copper braid.
You will usually notice the braid changing color as it absorbs molten solder.
Avoid moving the braid while the solder is still molten.
Step 5 – Remove the Wick and Iron Together
Once enough solder has been absorbed, lift both the soldering iron and the braid away at the same time.
Removing them together helps prevent the braid from sticking to the PCB.
Never pull the braid away while the solder is still solidifying, as this may lift PCB pads.
Step 6 – Cut Off the Used Section
After each use, trim away the saturated portion of the braid.
Fresh copper absorbs solder much more efficiently than sections already filled with solder.
Trying to reuse the same section usually produces poor results.
Why Won’t My Desoldering Wick Absorb Solder?
One of the most common frustrations is placing the braid on a solder joint only to find that nothing happens.
Several factors may be responsible.
The Temperature Is Too Low
If the solder never fully melts, it cannot flow into the braid.
Large copper areas, multilayer PCBs, and ground planes often require more heat than small signal traces.
Increasing heat transfer is usually more effective than simply raising the temperature.
There Isn’t Enough Flux
Flux dramatically improves solder flow.
If solder refuses to enter the braid, apply fresh flux before trying again.
This simple step often solves the problem immediately.
The Wick Has Already Been Used
Only unused copper braid can absorb additional solder effectively.
If the braid has already turned silver, cut it off and continue with a fresh section.
The Tip Is Oxidized
A dirty or oxidized soldering tip transfers heat poorly.
Before desoldering, clean and re-tin the tip to improve thermal efficiency.
The PCB Has High Thermal Mass
Large copper pours and multilayer boards absorb heat rapidly.
In these situations, use:
- A larger soldering tip
- Better heat transfer
- Slightly longer heating time
Avoid increasing the temperature excessively.
Common Mistakes When Using Desoldering Wick
Even with the right tools, improper technique can reduce desoldering efficiency or damage the PCB. Avoid these common mistakes for cleaner and safer solder removal.
Using Too Much Pressure
Many beginners press the soldering iron firmly against the braid, expecting it to absorb solder faster.
Excessive pressure does not improve heat transfer. Instead, it can:
- Lift PCB pads
- Scratch the solder mask
- Damage delicate copper traces
Use only light, even pressure and allow heat to do the work.
Holding Heat for Too Long
Leaving the soldering iron on the same spot for an extended period can overheat the PCB.
Prolonged heating may cause:
- Lifted pads
- Delamination
- Component damage
- Burned flux residue
If the solder does not melt within a few seconds, stop and identify the cause instead of continuing to apply heat.
Using the Same Section of Wick Repeatedly
Once a section of braid is saturated with solder, it can no longer absorb effectively.
Always trim off the used portion and continue with fresh braid.
Trying to reuse the same section usually wastes time and transfers unnecessary heat to the PCB.
Skipping Additional Flux
Although most desoldering wicks contain flux, the amount is often insufficient for older or oxidized solder joints.
Adding fresh rosin flux before desoldering improves:
- Heat transfer
- Solder wetting
- Absorption speed
This is one of the simplest ways to improve desoldering performance.
Using an Oxidized Soldering Tip
A blackened or poorly maintained tip cannot transfer heat efficiently.
Before desoldering:
- Clean the tip
- Remove oxidation if necessary
- Apply a fresh layer of solder
A properly tinned tip heats both the braid and the solder joint more effectively.
Desoldering Wick vs. Solder Pump
Both tools remove solder, but they are designed for different applications.
| Feature | Desoldering Wick | Solder Pump |
|---|---|---|
| Removal method | Absorbs molten solder | Vacuums molten solder |
| Best for | Precision work and SMD components | Through-hole joints with larger solder volumes |
| Accuracy | Excellent | Moderate |
| Risk of PCB damage | Low when used correctly | Slightly higher if excessive force is applied |
| Removes small solder residue | Excellent | Limited |
Many technicians use both tools during the same repair.
For example, a solder pump removes most of the solder from a through-hole joint, while desoldering wick cleans the remaining residue before the component is removed.
When Should You Use Hot Air Instead?
Desoldering wick is highly effective for removing surface solder, but it is not suitable for every repair.
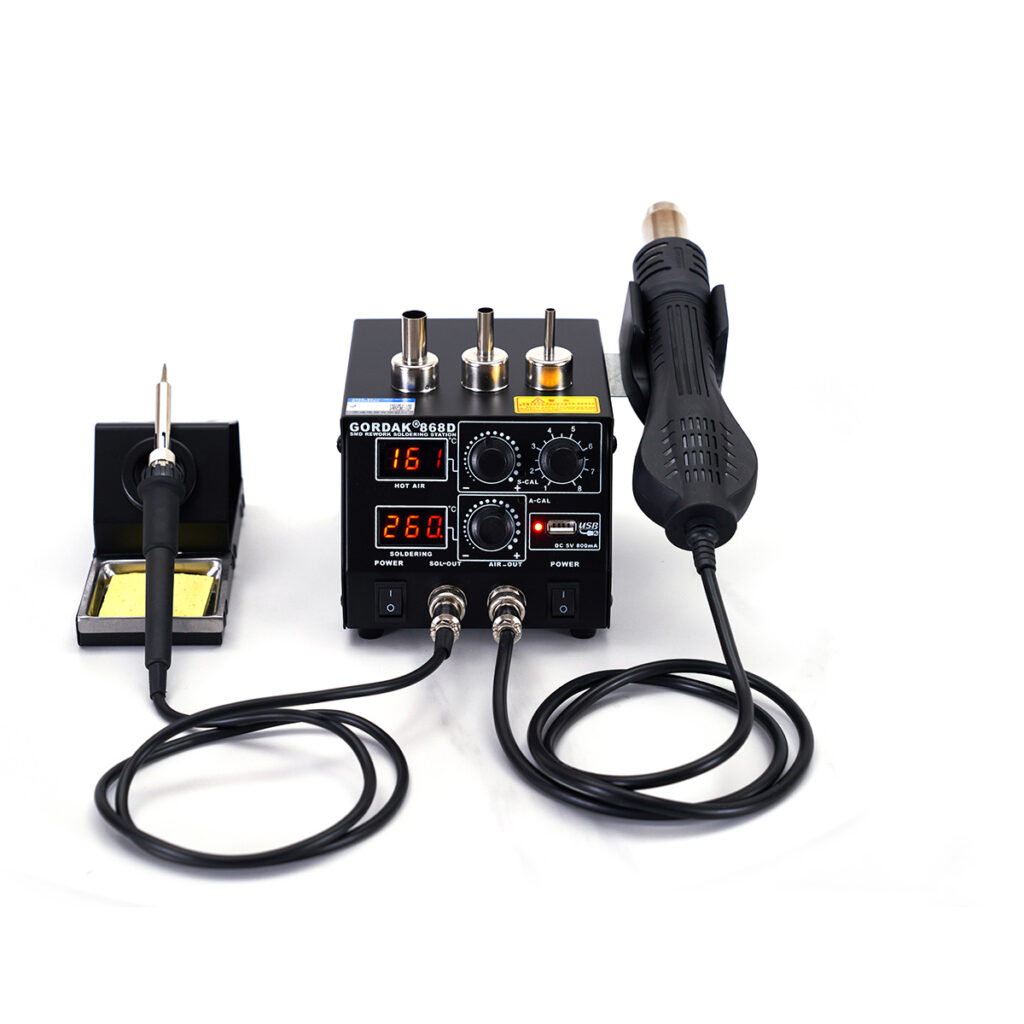
A hot air rework station is often a better choice for components that require multiple solder joints to melt simultaneously.
Examples include:
- QFN packages
- Large QFP ICs
- Multi-pin connectors
- Shielding covers
- Components with thermal pads underneath
Attempting to remove these components using only desoldering wick can be slow and may increase the risk of PCB damage.
Hot air provides more even heating across the entire component, making removal safer and more efficient.
Professional Tips for Better Desoldering Results
Add Fresh Solder Before Desoldering
This may seem counterintuitive, but experienced technicians often add a small amount of fresh solder before removing old solder.
Fresh solder introduces new flux and improves heat transfer, making older solder easier to remove.
This technique is especially helpful when working with oxidized joints or lead-free solder.
Match the Tip Size to the Joint
A tip that is too small may struggle to deliver enough heat.
For larger pads or ground connections, use a tip with greater contact area to improve thermal transfer.
The correct tip size often has a greater impact on desoldering performance than increasing the temperature.
Use Quality Desoldering Wick
Not all desoldering braid performs the same.
High-quality wick generally features:
- Tightly woven copper braid
- Consistent thickness
- Effective flux coating
Better-quality braid absorbs solder faster and reduces heating time.
Secure the PCB
Holding the PCB steady makes desoldering more controlled and reduces the risk of accidental movement.
A PCB holder or helping hands tool allows both hands to remain focused on the soldering iron and the braid.
Clean the PCB After Desoldering
Flux residue can attract dust and make inspection more difficult.
After the PCB has cooled, clean the repaired area with isopropyl alcohol and a lint-free swab if your flux requires cleaning.
This leaves the board cleaner and makes it easier to inspect solder joints.
FAQs
No. Once a section of braid has absorbed solder, it should be cut off and discarded. Only clean copper braid can effectively absorb additional solder.
Yes. While many desoldering wicks contain flux, applying additional rosin flux usually improves solder flow and makes desoldering easier, especially on oxidized joints or lead-free solder.
This usually happens when the solder cools before the braid is removed. Lift both the soldering iron and the braid away together while the solder is still molten.
Lead-free solder melts at a higher temperature and generally has lower wetting performance than leaded solder. Using fresh flux, stable temperature control, and adequate heat transfer greatly improves removal.
Yes, but only if it is used incorrectly. Applying excessive pressure or heating the same area for too long can lift pads or damage copper traces.
Neither tool is universally better. Desoldering wick offers greater precision for SMD work and cleaning solder residue, while a solder pump is more efficient for removing large amounts of solder from through-hole joints.
Conclusion
Desoldering wick is one of the most effective tools for removing excess solder, cleaning PCB pads, and repairing soldering defects. When combined with proper temperature control, adequate flux, and correct technique, it provides precise solder removal with minimal risk of damaging the PCB.
Understanding how desoldering wick works—and avoiding common mistakes such as insufficient flux, excessive pressure, or prolonged heating—can significantly improve repair efficiency and soldering quality.
For OEM/ODM cooperation and distributor inquiries, contact info@gordakelec.com.