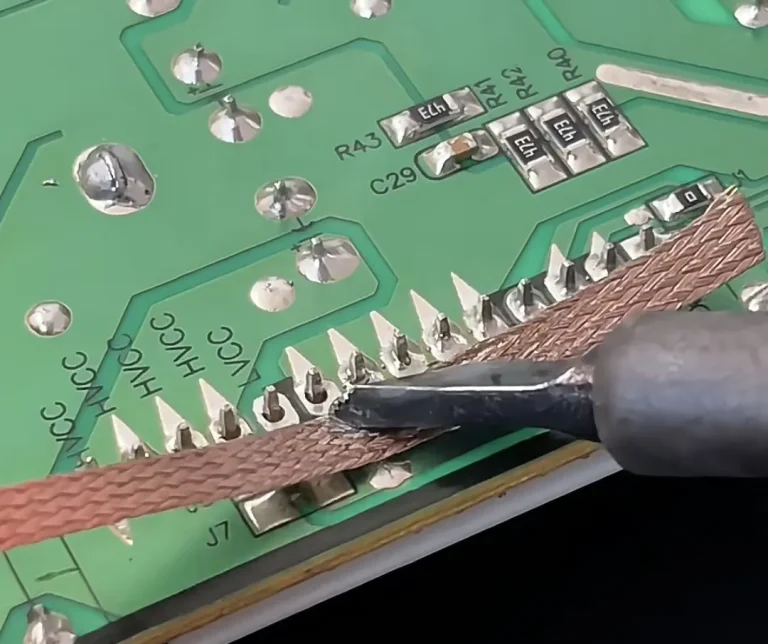
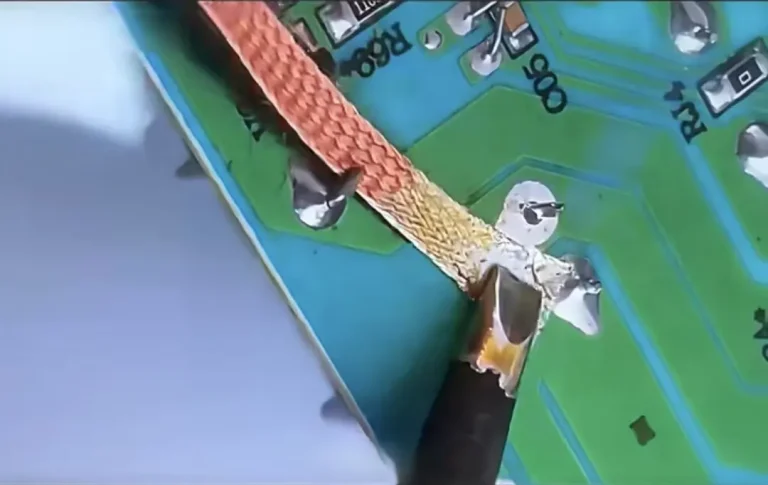
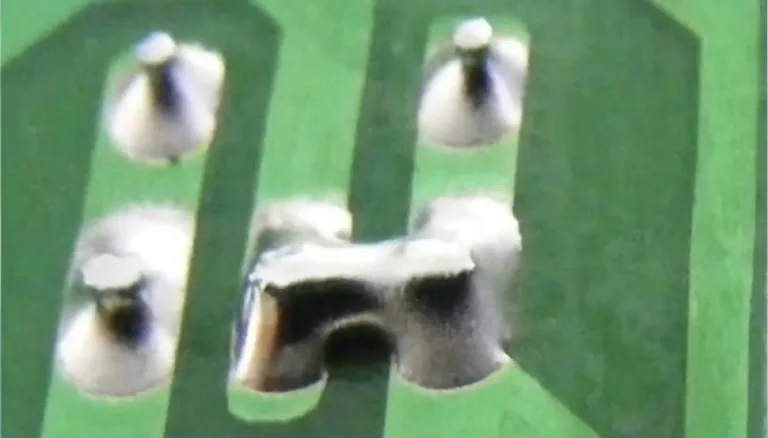
To desolder a battery pack from a PCB safely, first identify how the battery is connected, then use controlled heat to remove the solder without overheating the battery or damaging the PCB. For batteries with soldered wire leads or tabs, the goal is to heat the joint just long enough for the solder to melt while minimizing heat transfer to the battery itself.
This guide explains how to safely desolder battery packs from PCBs, the tools you’ll need, common mistakes to avoid, and when replacing the entire battery assembly is the safer option.
What Type of Battery Is Connected to Your PCB?
Before picking up a soldering iron, identify how the battery is attached. Different battery configurations require different removal methods.
Battery Pack with Wire Leads
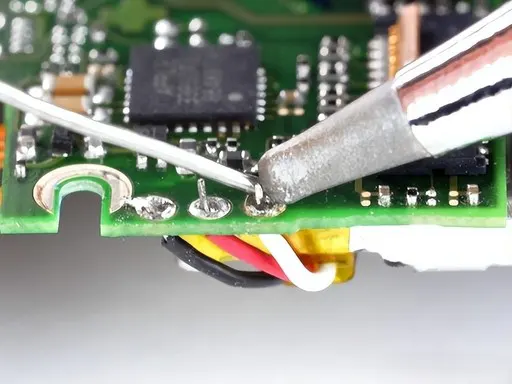
Many rechargeable battery packs connect to a PCB using red and black wires soldered through plated holes or solder pads.
This is the easiest type to desolder because heat is applied only to the solder joints, not directly to the battery cells.
Common applications include:
- Consumer electronics
- Portable instruments
- Toys
- Backup battery packs
Battery Pack with Solder Tabs
Some battery packs use nickel tabs soldered directly to PCB pads.
These tabs conduct heat quickly, so the soldering process should be completed as efficiently as possible to avoid transferring excessive heat to the battery.
Coin Cell Battery Holder
A coin cell holder is usually soldered to the PCB rather than the battery itself.
In this case, remove the battery from the holder before desoldering the holder from the board.
This eliminates unnecessary heat exposure to the battery.
Spot-Welded Battery Packs
Many lithium-ion battery packs are internally assembled using spot-welded nickel strips.
These welded connections should never be separated using a soldering iron.
If the battery pack itself is damaged, replacing the complete assembly is generally the safest solution.
Safety Precautions Before Desoldering
Battery packs store electrical energy even when disconnected from external power.
Before starting any repair, follow these precautions.
- Disconnect all external power sources.
- Turn off the device completely.
- Remove the battery if it is detachable.
- Prevent accidental short circuits between battery terminals.
- Work in a clean, well-ventilated area.
- Wear safety glasses when appropriate.
For lithium-ion batteries, avoid:
- Piercing the battery casing
- Crushing or bending the cells
- Applying prolonged heat directly to the battery
- Shorting the positive and negative terminals
If a lithium battery shows signs of swelling, leakage, or physical damage, it should not be desoldered for reuse.
Tools You’ll Need
Preparing the correct tools improves both safety and efficiency.
Recommended tools include:
- Temperature-controlled soldering station
- Desoldering wick
- Desoldering pump (for through-hole joints)
- Rosin flux
- Tweezers
- Brass wool or brass sponge
- Isopropyl alcohol for cleaning
- PCB holder or helping hands
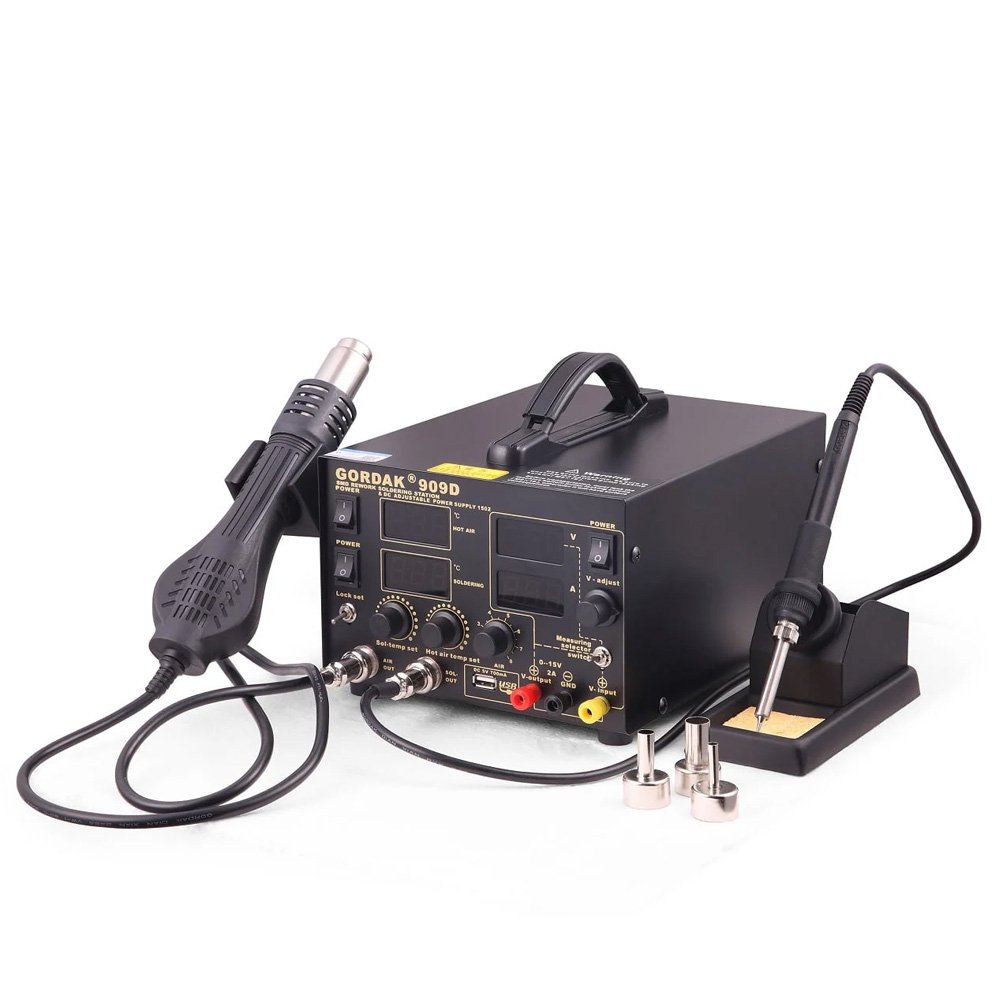
For larger solder joints or multilayer PCBs, a soldering station with stable temperature recovery provides more consistent heating than a basic soldering iron.
How to Desolder a Battery Pack from a PCB
Step 1 – Disconnect Power and Inspect the Battery Connection
Confirm that the device is completely powered off.
Identify whether the battery is connected by:
- Soldered wires
- Nickel tabs
- Battery holder
- Connector
Understanding the connection type helps determine the safest removal method.
Step 2 – Apply Flux to the Solder Joints
Apply a small amount of rosin flux to each solder joint.
Flux improves heat transfer, reduces oxidation, and allows solder to melt more evenly.
Even if the joints appear clean, fresh flux often makes desoldering significantly easier.
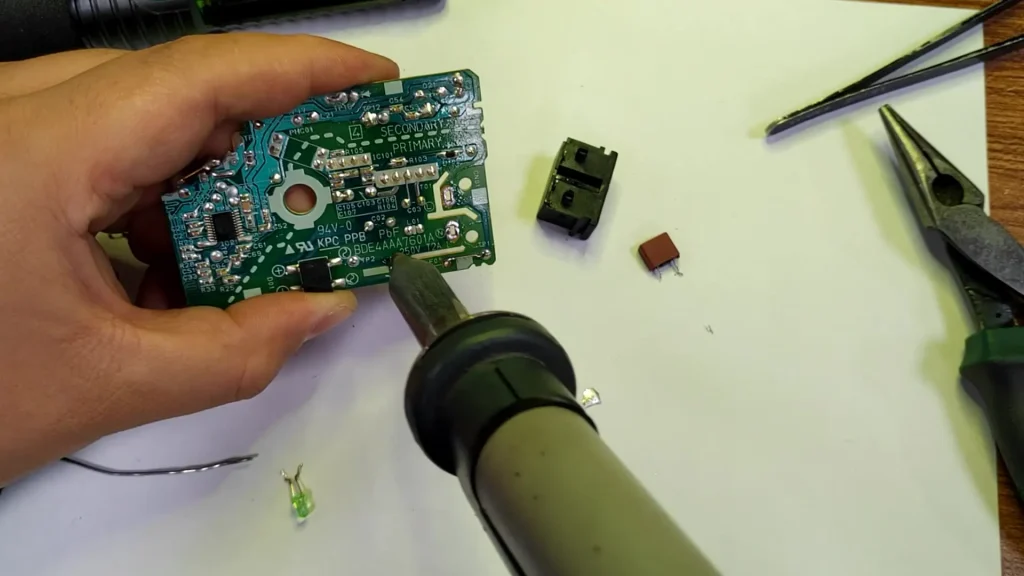
Step 3 – Heat One Joint at a Time
Place the soldering iron tip so it contacts both the solder pad and the battery lead.
Once the solder becomes fully molten, gently lift the wire or tab using tweezers.
Avoid pulling on the connection before the solder has completely melted, as this can lift PCB pads or damage copper traces.
Step 4 – Remove Excess Solder
After the battery lead has been removed, clean the remaining solder from the PCB.
Depending on the joint, you can use:
- Desoldering wick for precise cleanup
- A desoldering pump for larger through-hole joints
Clean pads make future repairs and battery replacement much easier.
Step 5 – Clean and Inspect the PCB
Remove any remaining flux residue if required by the type of flux used.
Inspect the PCB for:
- Lifted pads
- Damaged traces
- Remaining solder bridges
- Burned areas
Any damage should be repaired before installing a replacement battery.
How to Protect PCB Pads During Desoldering
PCB pads are often more vulnerable than the battery itself.
Proper technique helps prevent permanent board damage.
Use Moderate Temperature
Higher temperatures do not always improve desoldering.
For most electronic assemblies:
- Leaded solder typically requires lower temperatures.
- Lead-free solder generally requires higher settings because of its higher melting point.
Stable temperature control is more important than using the highest possible setting.
Minimize Heating Time
The longer heat remains on a solder joint, the greater the risk of damaging the PCB.
If the solder does not melt within a few seconds, remove the iron and identify the cause instead of continuing to apply heat.
Additional flux or a larger soldering tip often solves the problem more effectively than increasing the temperature.
Never Pull on the Battery Lead
One of the most common causes of lifted pads is pulling before the solder is fully molten.
Allow the solder to melt completely, then lift the lead gently with tweezers while maintaining light upward pressure.
Support the PCB
A PCB holder keeps the board stable and allows both hands to remain focused on the soldering process.
This improves precision and reduces accidental movement during desoldering.
Common Mistakes When Desoldering a Battery Pack
Even experienced technicians can damage a PCB or battery pack if proper desoldering practices are not followed.
Applying Heat Directly to the Battery
The solder joint—not the battery—should be the focus of the heat.
Holding the soldering iron against the battery tab or cell for too long can cause excessive heat buildup, especially in lithium-ion batteries.
Always apply heat only long enough to melt the solder and remove the connection.
Pulling the Battery Before the Solder Melts
Forcing a wire or tab away from the PCB while the solder is still solid can:
- Lift PCB pads
- Tear copper traces
- Damage plated through-holes
Wait until the solder is completely molten before removing the connection.
Using Excessive Temperature
Raising the soldering iron to its maximum temperature rarely makes desoldering easier.
Instead, it increases the risk of:
- Burned PCB laminate
- Lifted pads
- Tip oxidation
- Shortened soldering tip life
A temperature-controlled soldering station provides better results than excessive heat.
Skipping Flux
Flux improves heat transfer and allows solder to flow more easily.
Without fresh flux, desoldering often takes longer, increasing heat exposure to both the PCB and the battery connection.
Attempting to Desolder a Damaged Lithium Battery
If a lithium battery is swollen, leaking, punctured, or has suffered physical damage, do not attempt to remove and reuse it.
Replace the entire battery assembly according to the manufacturer’s recommendations and dispose of the damaged battery through an approved recycling program.
When Should You Replace the Battery Instead?
Not every battery should be repaired or resoldered.
Replacing the complete battery pack is usually the safer choice when:
- The battery is swollen or leaking.
- The protective insulation has been damaged.
- The solder tabs have broken away from the battery cell.
- The battery no longer holds a charge.
- The manufacturer supplies a replacement battery assembly.
For lithium-ion battery packs that use spot-welded tabs, replacing the complete pack is generally recommended instead of attempting to repair the battery itself.
Soldering Iron vs. Hot Air Rework Station
Both tools can be useful for battery-related PCB repairs, but they serve different purposes.
| Feature | Soldering Iron | Hot Air Rework Station |
|---|---|---|
| Best for | Wire leads, solder tabs, through-hole joints | Surface-mounted battery connectors, surrounding SMD components |
| Heating method | Direct contact | Controlled hot airflow |
| Precision | High | High when used correctly |
| Risk to nearby components | Low | Higher if airflow or temperature is excessive |
| Typical application | Removing battery leads from PCB | Removing soldered connectors or nearby SMD parts |
For most battery packs connected with wires or solder tabs, a soldering iron is the preferred tool because it delivers heat directly to the solder joint with minimal exposure to surrounding components.
Hot air rework is generally more suitable when replacing surface-mounted battery connectors or performing broader PCB repairs rather than removing the battery pack itself.
Professional Tips for Safer Battery Desoldering
Add a Small Amount of Fresh Solder
Old solder can become oxidized and difficult to melt.
Adding a small amount of fresh solder introduces new flux and improves heat transfer, making desoldering faster and reducing the amount of time heat is applied to the joint.
Choose the Right Soldering Tip
A tip with sufficient contact area transfers heat more efficiently than a very fine conical tip.
For battery wires and larger solder pads, a small chisel tip often provides better performance.
Keep the Soldering Tip Clean
A clean, properly tinned tip transfers heat more effectively.
Before starting, clean the tip with brass wool and apply a thin layer of fresh solder.
If the tip becomes heavily oxidized during the repair, clean and re-tin it before continuing.
Work One Connection at a Time
When removing battery packs with multiple soldered leads, complete one joint before moving to the next.
This helps maintain control and reduces the chance of accidentally shorting adjacent connections.
Verify Polarity Before Reinstallation
If you are installing a replacement battery pack, confirm the polarity before soldering.
Double-check the positive (+) and negative (-) markings on both the PCB and the battery leads to avoid damaging the circuit.
FAQs
Yes, if the battery pack is connected to the PCB by soldered wires or tabs. However, avoid applying prolonged heat to the battery itself. Battery cells with damaged tabs or internal spot welds should not be repaired by soldering.
Generally, no. Bare lithium-ion cells are typically manufactured with spot-welded tabs because prolonged soldering heat can damage the cell and create safety risks. If soldering is required, use batteries specifically designed with solder tabs or pre-attached leads.
The ideal temperature depends on the solder alloy and PCB design. Rather than using the highest setting, focus on stable temperature control and efficient heat transfer to minimize heating time.
Yes. Desoldering wick works well for cleaning residual solder from battery pads and through-hole joints after the battery leads have been removed.
Stop applying heat immediately. Allow the board to cool and inspect the damage before continuing. Continuing to pull on the joint may cause further damage to the copper trace.
It depends on the battery’s condition. If the battery is in good condition, has not been overheated, and the manufacturer permits reuse, it may be suitable for reinstallation. However, any battery showing signs of swelling, leakage, physical damage, or degraded performance should be replaced rather than reused.
Conclusion
Desoldering a battery pack from a PCB requires careful heat control, the right tools, and an understanding of how the battery is connected. By identifying the connection type, applying heat only to the solder joint, and protecting the PCB from excessive temperature, you can safely remove battery connections while minimizing the risk of damage.
When working with lithium-ion batteries, safety should always come first. If the battery is damaged, swollen, or uses internal spot-welded connections, replacing the complete battery assembly is generally the safest and most reliable solution.
Professional Soldering Solutions for PCB Repair
Whether you’re replacing battery connections, repairing PCBs, or performing electronics rework, reliable temperature control makes every repair safer and more efficient.
GORDAK offers professional soldering stations and hot air rework stations designed for precise temperature stability, fast thermal recovery, and dependable performance in electronics repair and manufacturing.
For OEM/ODM cooperation and distributor inquiries, contact info@gordakelec.com.