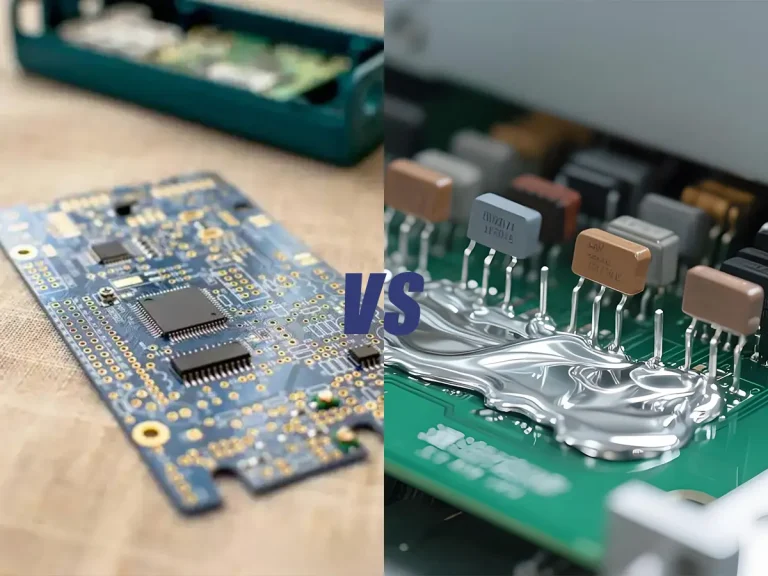
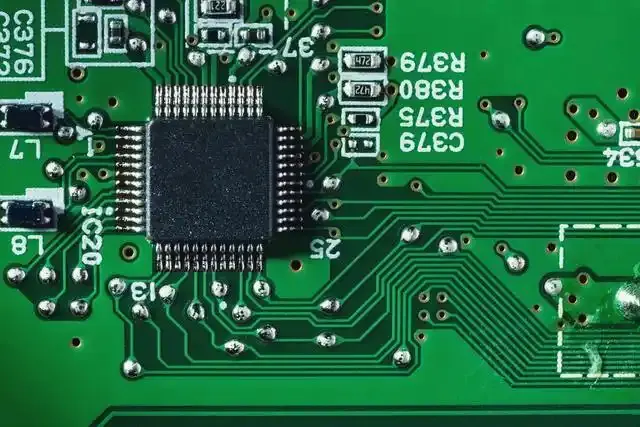
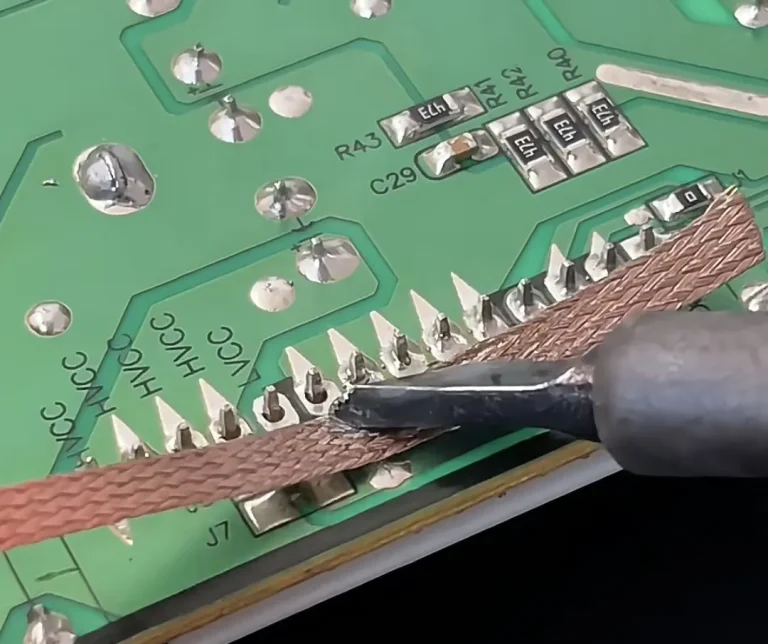
If your soldering iron is running too hot, it can damage PCB pads, burn components, oxidize tips, and create poor solder joints. Lowering the temperature safely not only protects your project — it also extends the life of your soldering tip.
This step-by-step guide will show you how to reduce soldering iron temperature properly and safely.
Why Temperature Control Matters
If the temperature is too high, you may notice:
- Burned or lifted PCB pads
- Excessive smoke from flux
- Oxidized or blackened soldering tips
- Melted plastic connectors
- Weak or brittle solder joints
Correct temperature ensures:
- Smooth solder flow
- Clean joints
- Component protection
- Longer tool lifespan
How to Know If Your Soldering Iron Temperature Is Too High
Before lowering your soldering iron temperature, it is important to confirm whether the heat setting is actually too high.
A soldering iron may be running too hot if you notice:
- Solder melts immediately when it touches the tip
- Flux produces excessive smoke or burns quickly
- The soldering tip turns black or oxidizes rapidly
- PCB pads become damaged or lifted
- Plastic connectors or insulation start melting
- Solder joints become rough or unreliable
For most electronics work, soldering temperatures are usually between 300°C and 380°C depending on solder type and component size.
Using the highest temperature setting does not always improve soldering performance. Excessive heat can reduce tip lifespan and increase the risk of damaging sensitive components.
Step 1: Check If Your Iron Has Temperature Control
There are two main types of soldering irons:
1️⃣ Fixed-Temperature Soldering Iron
These plug directly into power and usually run between 350°C–450°C without adjustment.
2️⃣ Temperature-Controlled Soldering Station
These allow you to set the exact temperature digitally or with a knob.
If you’re using a fixed-temperature iron, your options are limited (see Step 4 below).
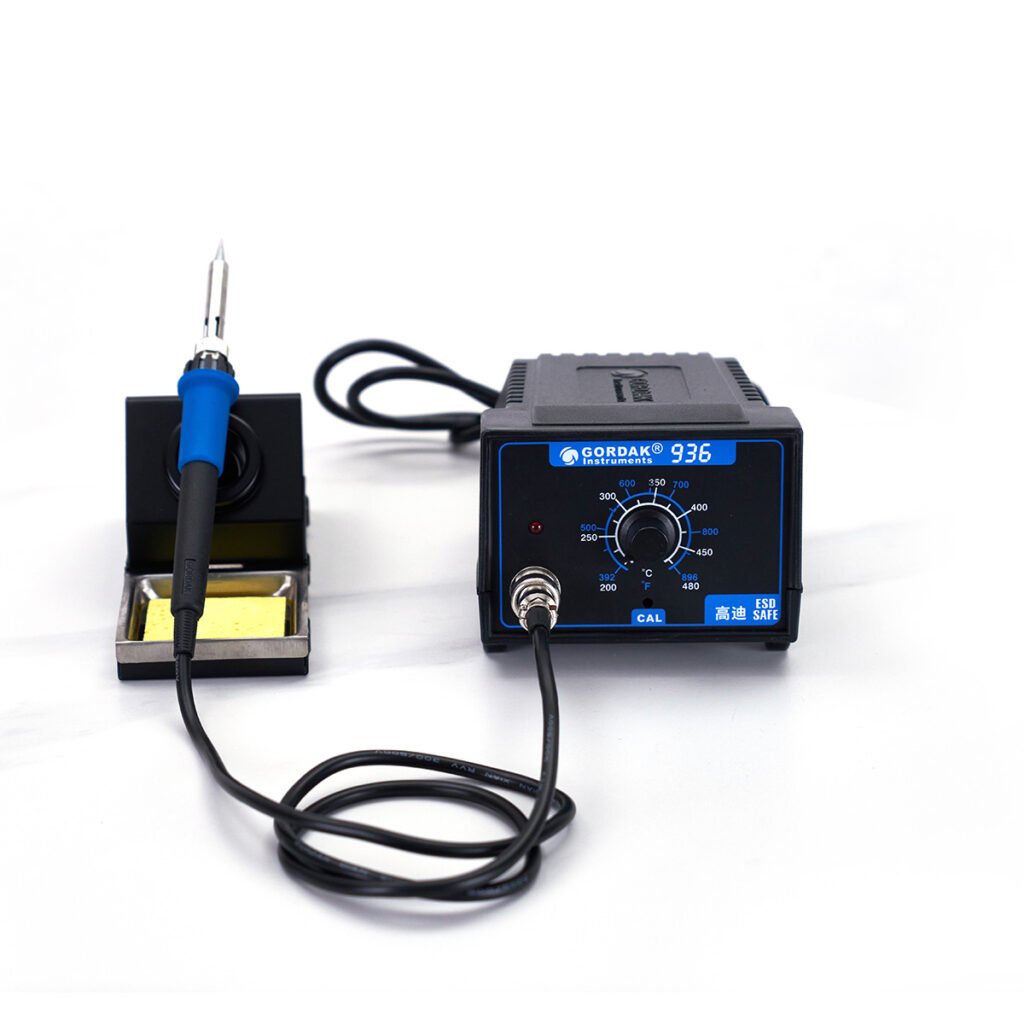
Step 2: Reduce Temperature on a Soldering Station
If you have a temperature-controlled station:
✔ Turn Down the Temperature Gradually
Lower the setting by 10–20°C at a time.
✔ Wait for Stabilization
Give the station 10–30 seconds to stabilize.
✔ Test on Scrap Material
Before working on your PCB, test solder flow on spare wire or a practice board.
Recommended Temperature Settings
| Application | Suggested Temperature |
|---|---|
| Leaded solder (Sn63/Pb37) | 320–350°C |
| Lead-free solder | 350–380°C |
| Small SMD components | 300–330°C |
| Large connectors / ground planes | 370–400°C |
Avoid exceeding 400°C unless absolutely necessary.
Step 3: Let the Iron Cool Naturally
If you need to lower temperature quickly:
- Turn down the setting
- Let the iron cool on its stand
- Do NOT dip it in water (this damages the heating element)
Sudden cooling can cause thermal shock and crack the heating core.
Step 4: What If You Have a Fixed-Temperature Iron?
If your iron has no temperature control, try these methods:
✔ Use a Power Control Dimmer
An external soldering iron power controller can reduce voltage and heat output.
✔ Unplug Periodically
Turn it off between joints to prevent overheating.
✔ Upgrade to a Temperature-Controlled Station
This is the safest and most effective long-term solution.
How Hot Can a Soldering Iron Get?
Most soldering irons used for electronics can reach temperatures between 300°C and 450°C.
Some high-temperature soldering tools may exceed this range, but electronics repair rarely requires extreme temperatures.
A soldering iron operating at excessive temperatures can cause:
- Faster tip oxidation
- Burned flux
- Damaged PCB pads
- Reduced component reliability
This is why temperature-controlled soldering stations are preferred for electronics work. They allow users to adjust heat according to different soldering tasks instead of operating at a fixed high temperature.
Step 5: Maintain Your Soldering Tip
High temperature accelerates tip oxidation.
To protect your tip:
- Keep it tinned (coated with solder)
- Use brass wool instead of a wet sponge
- Lower temperature when idle
- Turn off the station during long breaks
Proper maintenance keeps heat transfer efficient even at lower temperatures.
Signs Your Temperature Is Now Correct
You’ll know the temperature is right when:
- Solder melts smoothly within 1–2 seconds
- Flux activates without excessive smoke
- Joints look shiny (for leaded solder)
- Pads do not discolor
- Components remain undamaged
Common Mistakes to Avoid
❌ Setting temperature too low (causes cold joints)
❌ Using maximum temperature all the time
❌ Cooling tip in water
❌ Ignoring oxidation buildup
❌ Not matching temperature to solder type
Why Temperature-Controlled Stations Are Safer
Temperature stability is especially important when working with:
- SMD components
- Multilayer PCBs
- Fine-pitch ICs
- Heat-sensitive connectors
A high-quality soldering station maintains precise and stable heat output, reducing risks and improving solder quality.
Professional manufacturers design stations with advanced temperature control, fast heat recovery, and ESD-safe protection to meet modern electronics demands.
How Temperature Control Helps Prevent Overheating
A temperature-controlled soldering station is one of the easiest ways to prevent soldering irons from running too hot.
Unlike fixed-temperature irons, temperature-controlled stations allow users to:
- Adjust temperature for different solder types
- Reduce unnecessary heat exposure
- Maintain stable temperature during soldering
- Protect sensitive electronic components
For beginners and professional technicians, precise temperature control improves soldering consistency and reduces the risk of overheating damage.
Final Thoughts
Lowering your soldering iron temperature safely is simple — but important.
- Identify your iron type
- Reduce temperature gradually
- Allow proper cooling
- Match temperature to solder type
- Maintain your tip regularly
Using the correct temperature improves solder quality, protects components, and extends tool life.
If you solder frequently or work on professional electronics projects, investing in a temperature-controlled soldering station gives you better control, safer operation, and consistent results.
For further questions, please contact us at info@gordakelec.com.