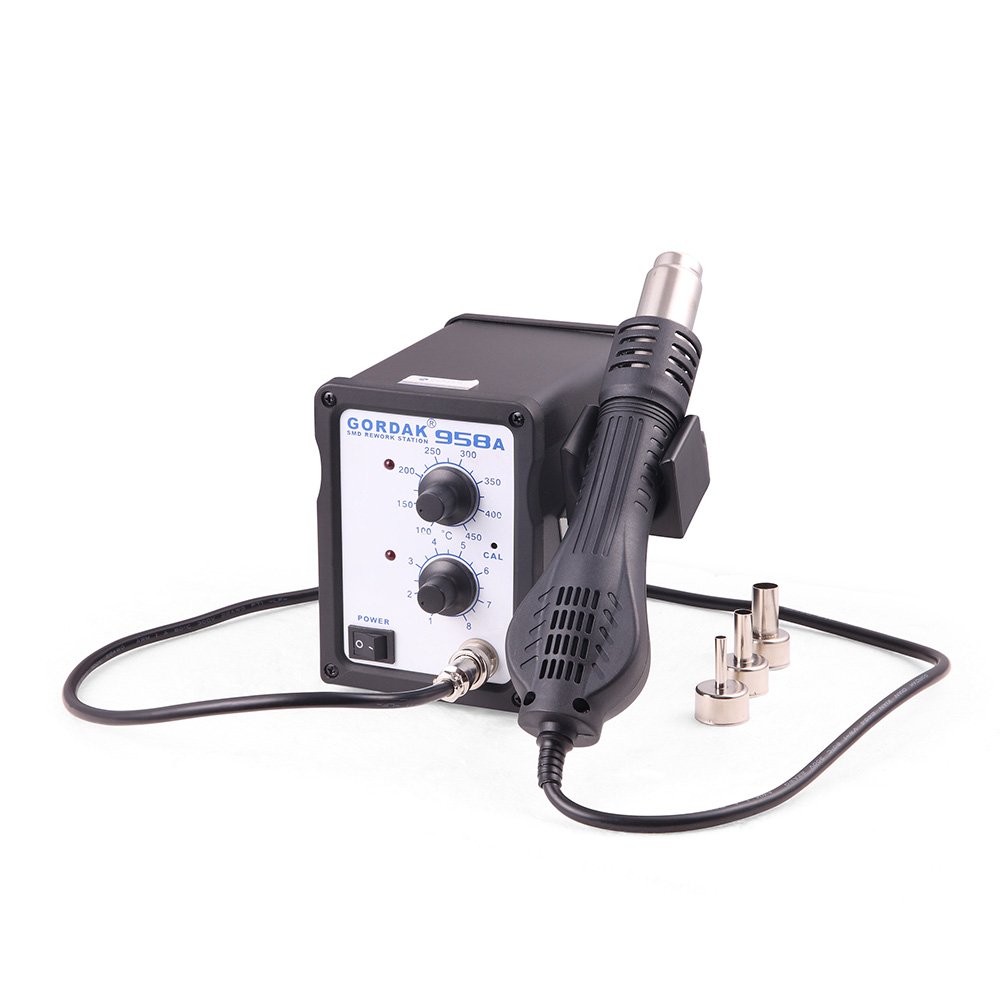
Integrated circuit (IC) chips are at the heart of nearly all modern electronics. Whether you’re repairing a damaged board or upgrading a component, replacing an IC chip requires precision and the right tools. A hot air rework station provides the ideal solution for safely removing and installing IC chips, especially surface-mounted devices (SMDs), without damaging the surrounding PCB.
As a trusted manufacturer of professional soldering and rework equipment, Gordak Electric offers this guide to help you carry out successful IC replacement using one of our hot air rework stations.
Why Use a Hot Air Rework Station for IC Replacement?
IC chips often have multiple pins or pads arranged in tight formations (such as SOIC, QFP, or BGA packages). Traditional soldering tools may not offer the control or heat coverage required for these components. A hot air rework station enables:
- Even heating across all pins for clean desoldering
- Non-contact operation, reducing risk of mechanical damage
- Controlled temperature and airflow, preventing PCB overheating
Tools Required
- Hot air rework station (e.g., Gordak 850, 850A, 850B, 857, 857D, 958, 958A, and 958D)
- ESD-safe tweezers or vacuum tool
- Soldering iron (for touch-up or pad preparation)
- Solder wick and/or solder sucker
- Solder paste or fine solder wire
- Flux
- Isopropyl alcohol and lint-free wipes
- ESD-safe workstation setup
Step-by-Step Guide to Replacing an IC Chip
1. Preparation
- Power on your hot air rework station and set the temperature between 280°C and 350°C, depending on the type of solder and PCB.
- Adjust airflow to a moderate level to prevent displacing nearby components.
- Apply flux around the IC to facilitate clean desoldering and prevent oxidation.
- Secure the PCB on an ESD-safe mat and wear an antistatic wrist strap.
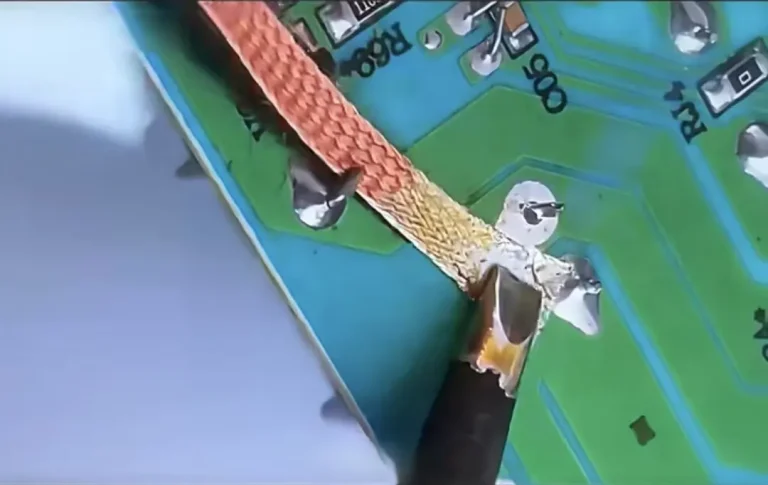
2. Remove the Faulty IC Chip
- Choose a nozzle size that covers the chip evenly.
- Hold the hot air gun about 2–4 cm above the IC.
- Move the nozzle in a gentle circular motion over the chip to apply even heat.
- After a few seconds, once the solder melts, lift the chip gently with tweezers or a vacuum pickup tool.
- Avoid force—if the chip doesn’t move easily, continue applying heat for a few more seconds.
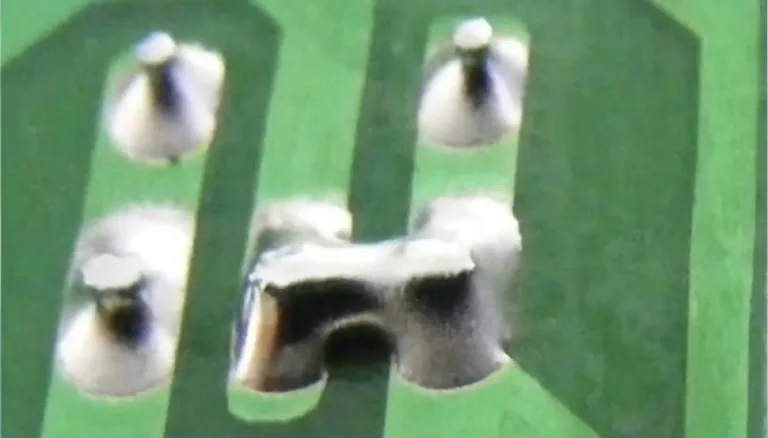
3. Clean the Pads
- Use a soldering iron with solder wick to remove excess solder from the PCB pads.
- Clean the area with isopropyl alcohol and a lint-free cloth.
- Inspect the pads under magnification to ensure none are damaged or lifted.
4. Position the New IC Chip
- Apply a thin layer of solder paste or use fine solder wire to lightly tin the pads.
- Align the new IC correctly based on the pin 1 marking.
- Use flux to aid proper solder flow during the reflow process.
5. Solder the New IC with Hot Air
- Set the hot air rework station to the same temperature range as before.
- Heat the IC gently and evenly from above until the solder melts and each pin settles into place.
- Watch for the self-alignment effect as surface tension pulls the pins into position.
- Allow the board to cool naturally before handling.
6. Inspect the Solder Joints
- After cooling, inspect all pins for proper solder coverage and alignment.
- Use a multimeter in continuity mode to check for short circuits or poor connections.
- Clean any flux residue with alcohol.
Safety & Quality Tips
- Use appropriate airflow—too strong can blow the component off or damage nearby parts.
- Avoid excessive heat exposure to prevent PCB warping or delamination.
- Practice on discarded boards to gain confidence before working on valuable electronics.
- Always operate in a well-ventilated area or use fume extraction.
Why Choose Gordak Electric
At Gordak Electric, we provide durable, precise, and user-friendly hot air rework stations designed for both beginners and professionals. Our products support a wide range of IC package types and rework applications, helping you complete repairs safely and efficiently.
To learn more about our product range or request a quotation, contact us:
Email: info@gordakelec.com