Soldering can be an incredibly effective technique to use – however, making sure that you have soldered carefully is hugely important. In line with this thought, today, we’re looking at some of the key tips you should be following to help avoid causing damage to your circuit boards while soldering; hopefully, this will allow you to find the optimal approach for your own circuit board soldering efforts.
What You Need to Solder a Circuit Board
Before soldering a circuit board, prepare the right tools and materials for the type of components you are working with. Using suitable equipment not only makes soldering easier but also helps reduce excessive heat, mechanical stress, and accidental damage to the PCB.
Basic tools include:
- Temperature-controlled soldering iron
- Suitable solder wire
- Flux
- Soldering iron tip
- Solder wick or desoldering tool
- Tweezers
- PCB holder or helping hands
- Isopropyl alcohol and lint-free wipes for cleaning
- ESD mat and wrist strap when working with sensitive electronics
For small SMD components, additional tools such as a hot air rework station, magnification, and precision tweezers may be useful.
How to Solder a Circuit Board Step by Step
Step 1: Prepare the PCB
Before soldering, inspect the PCB and make sure the pads and component leads are clean and free from excessive oxidation or contamination.
Secure the circuit board with a PCB holder or helping hands so that it cannot move during soldering.
For sensitive electronic assemblies, use an ESD-safe workspace to reduce the risk of electrostatic discharge damaging components.
Step 2: Set the Soldering Iron Temperature
Set the soldering iron according to the solder alloy, component, and PCB thermal characteristics.
A temperature-controlled soldering station provides better control than a fixed-temperature iron because you can adjust the heat according to the application.
Avoid using excessive temperature simply to make solder melt faster. Excessive heat can damage components, lift PCB pads, burn flux, or degrade the soldering tip.
At the same time, insufficient heat can prevent proper wetting and result in weak or unreliable solder joints.
Step 3: Tin the Soldering Tip
Before making the joint, apply a small amount of solder to the tip of the soldering iron.
A properly tinned tip improves heat transfer between the iron, PCB pad, and component lead while helping protect the tip from oxidation.
Do not cover the entire tip with a large blob of solder. A thin, fresh layer of solder is generally sufficient.
Step 4: Heat the Pad and Component Lead
Place the soldering tip so that it makes contact with both the PCB pad and the component lead.
Heat the two surfaces together rather than applying solder directly to the iron tip.
Once the pad and lead reach the appropriate soldering temperature, feed solder into the joint. The solder should flow onto the heated surfaces rather than simply forming a ball on the iron tip.
4 Tips To Avoid Damaging Circuit Boards When Soldering
There are a number of techniques to note when soldering delicate electronics, such as circuit boards. Indeed, it can often be easy to make mistakes when soldering; as such, knowing the potential issues may help avoid damaging the components you are attempting to solder.
#1 Pick The Correct Soldering Iron
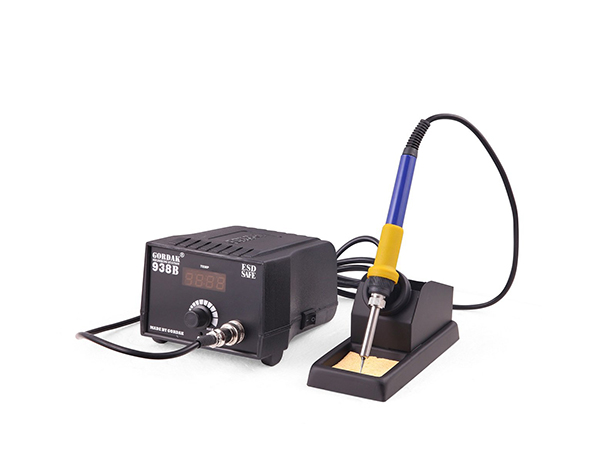
It may seem obvious, but one of the most important factors to keep in mind when soldering to ensure you are using the correct soldering iron is crucial when it comes to delicate electronics. Typically, the best soldering irons are those with variable temperature settings, which allow you to adjust the temperature accordingly to avoid damaging the circuit board. Nevertheless, fixed temperature options can still be used; however, you should always make sure that your chosen iron is a suitable temperature for the project in question.
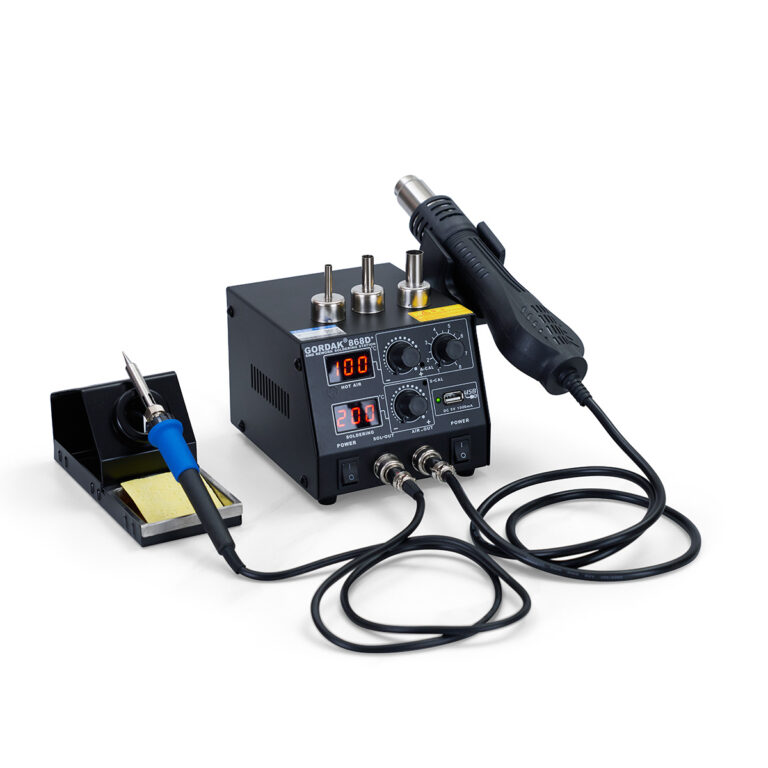
#2 Invest in a Reworking Station
If you do make a mistake, consider investing in a reworking station. Indeed, reworking stations are ideal for adjusting or removing solder; however, they should not be used to solder components together directly due to the lack of precision and control.
#3 Use The Right Solder Material
It’s not just the soldering iron that should be right for your project; choosing the right solder is another essential factor to consider as part of this. Indeed, different solders have different properties, which can potentially damage your materials.
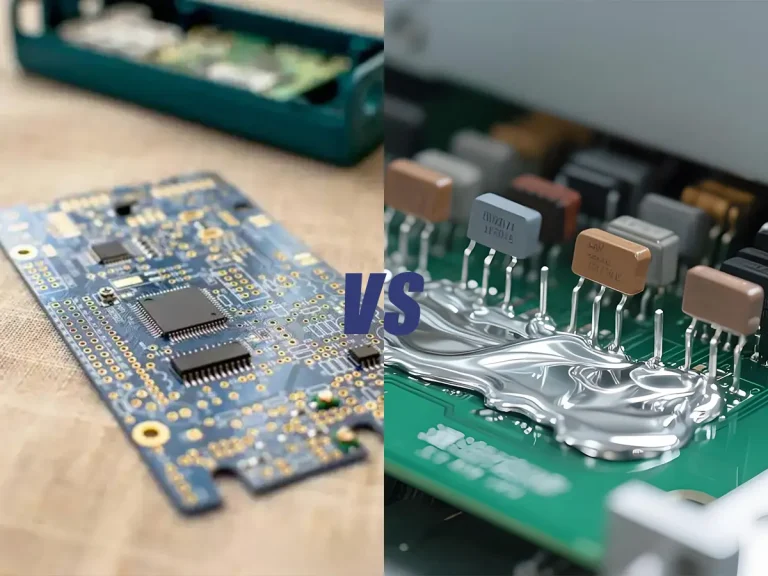
There are two main types of solder used in electronics: lead-based and non-lead-based solder. Lead-based solder offers a lower melting point and is generally easier to work with, but there are naturally potential health risks associated with these, and high temperature irons could cause excessive melting and damage. Alternatively, non-lead-based solder may have a slightly higher melting point, which can be easier to control; however, it is better for the environment and your health. Choosing the right solder can also influence the chance of accidentally damaging the board, so take care with this to select the most appropriate option.
#4 Always Use Additional Supports
Soldering can be an incredibly complex and intricate process; as such, making sure you have plenty of supports in place is crucial to keep things stable and steady. Support stands can help hold the circuit board in place while you solder, preventing wobbling and risk; this also helps to free up both hands, allowing you to focus more carefully on the task at hand. Some stands even come with a magnifier to help when working on very small or intricate electronics, which helps reduce the risk of making a mistake on your projects.
How to Solder Different Types of Circuit Board Components
Through-Hole Components
Through-hole components are generally easier to solder because their leads pass through holes in the PCB. Insert the component, secure it, heat the pad and lead together, then apply solder until the joint is properly wetted.
SMD Components
SMD components require more precise control because the solder joints and components are located directly on the PCB surface. A fine soldering tip, appropriate flux, magnification, and controlled temperature are useful for small SMD components.
Fine-Pitch ICs
Fine-pitch ICs require additional care because adjacent pins are closely spaced. Excess solder can create bridges between pins, while excessive heat can damage the component or PCB.
How to Solder Different Types of Circuit Board Components
Through-Hole Components
Through-hole components are generally easier to solder because their leads pass through holes in the PCB. Insert the component, secure it, heat the pad and lead together, then apply solder until the joint is properly wetted.
SMD Components
SMD components require more precise control because the solder joints and components are located directly on the PCB surface. A fine soldering tip, appropriate flux, magnification, and controlled temperature are useful for small SMD components.
Fine-Pitch ICs
Fine-pitch ICs require additional care because adjacent pins are closely spaced. Excess solder can create bridges between pins, while excessive heat can damage the component or PCB.
How to Tell If a Circuit Board Solder Joint Is Good
Good solder joint
- Solder wets both the pad and component lead
- Joint is mechanically stable
- No visible solder bridge
- No excessive solder buildup
- Component remains properly positioned
- No visible PCB discoloration or pad damage
Signs of a Poor Solder Joint
- Solder forms a ball instead of wetting the pad
- Visible cracks
- Insufficient solder
- Excessive solder
- Solder bridge between adjacent pads
- Component movement
- Burned PCB or damaged pad
How to Tell If a Circuit Board Solder Joint Is Good
Good solder joint
- Solder wets both the pad and component lead
- Joint is mechanically stable
- No visible solder bridge
- No excessive solder buildup
- Component remains properly positioned
- No visible PCB discoloration or pad damage
Signs of a Poor Solder Joint
- Solder forms a ball instead of wetting the pad
- Visible cracks
- Insufficient solder
- Excessive solder
- Solder bridge between adjacent pads
- Component movement
- Burned PCB or damaged pad
If you have further questions, feel free to contact us at info@gordakelec.com.
Soldering Basics & Guides
Key Considerations Before Using a Soldering Iron
How To Use A Soldering Station
A Complete Guide To Soldering Irons
How Does A Soldering Station Work?
What Is The Use Of A Soldering Station?
Soldering for Beginners: Required Tools and Supplies for Basic Soldering
How To Solder A Circuit Board Without Damaging Components
5 Common Reasons to Invest In a 3-in-1 Preheater Rework Station