Have you ever wondered about what SMD soldering is and how this might help with your own soldering needs? If so, there’s a lot to learn. Luckily, this is where our experts can help, and we’ve outlined some of the main things you need to know about SMD soldering today to help inform your decision.
What is SMD Soldering?
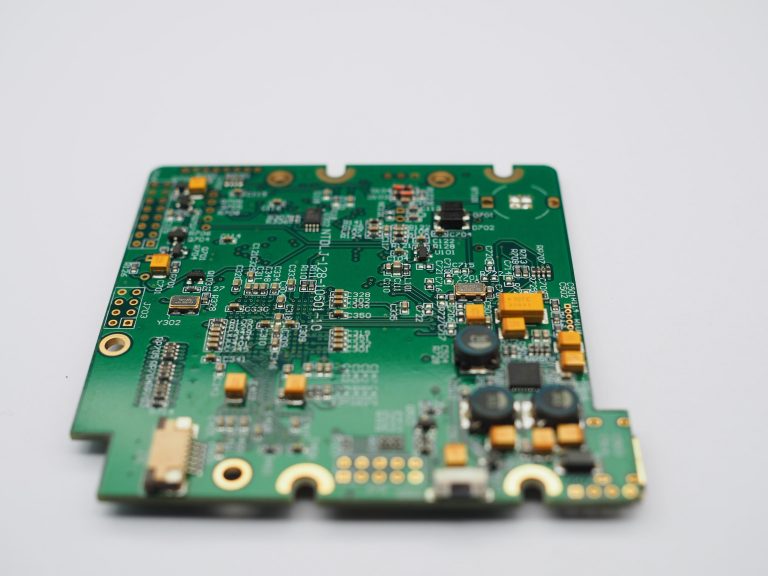
Before we go any further, we first need to define what SMD soldering is. SMD soldering stands for Surface Mount Device soldering. This particular approach means that surface-mount components are soldered onto printed circuit boards.
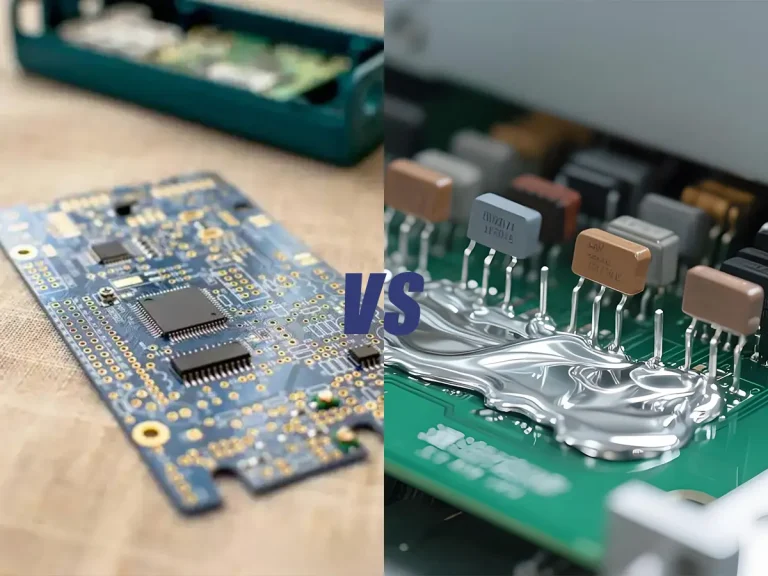
Compared to regular through-hole mounting approaches, SMD soldering means that the component is directly mounted to the surface. This provides a unique approach that’s versatile and valuable for small soldering applications. In turn, this can offer a much more precise approach compared to traditional soldering processes.
Essential Tools and Materials for SMD Soldering
Successful SMD soldering depends on more than a soldering iron. Because surface-mount components are small and closely spaced, the right combination of heating, positioning, inspection, and cleaning tools can make the process much easier.
For most manual SMD soldering projects, the following tools are useful:
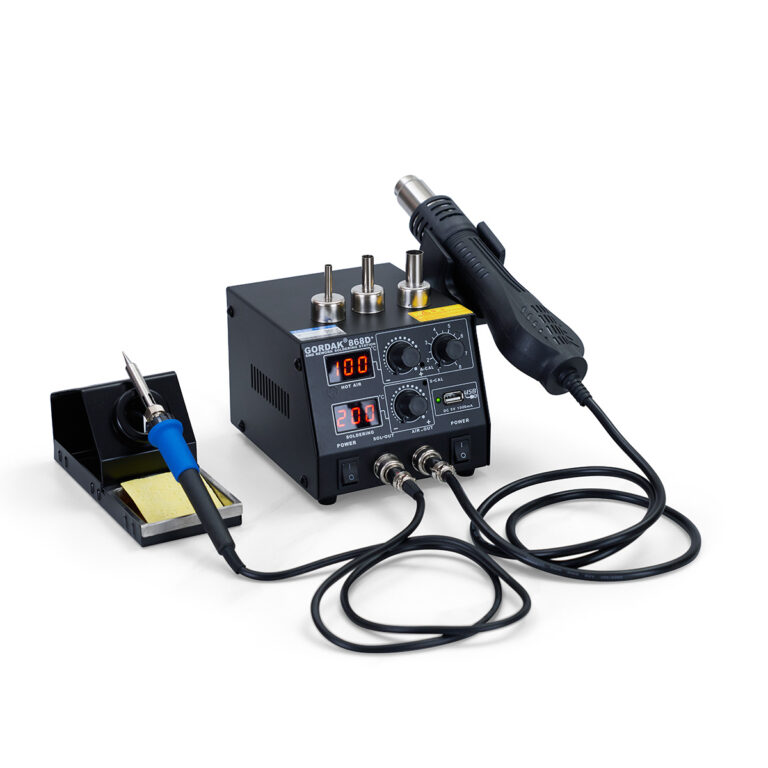
Temperature-controlled soldering station: Provides stable and adjustable heat for soldering individual pads and component leads.
Fine soldering tips: Small conical or chisel tips provide better access to fine-pitch SMD components.
Fine solder wire: A small-diameter solder wire gives you better control when working with small pads.
Flux: Flux improves solder flow and helps prevent oxidation during soldering.
ESD-safe tweezers: Fine-point tweezers make it easier to position and hold small SMD components.
Magnification: A magnifying lamp or microscope helps you inspect small solder joints and identify solder bridges or insufficient solder.
Hot air rework station: Useful for reflowing solder paste and removing or replacing multi-pin SMD components.
Solder wick: Helps remove excess solder and correct solder bridges after soldering.
Isopropyl alcohol and lint-free wipes: Useful for cleaning flux residues after the soldering process.
For beginners, a temperature-controlled soldering station, fine tips, flux, tweezers, solder wire, and basic magnification are usually enough to start. More advanced work may require a hot air rework station, solder paste, stencils, or additional inspection equipment.

How to Get Started with SMD Soldering
Getting started with SMD soldering might sound tricky, but fortunately, this doesn’t have to be the case. In fact, SMD soldering is relatively simple once you know what you’re doing and how to approach this task.
First, you’ll of course need to order your components; a top-quality circuit board is highly recommended here to ensure the best results. You’ll also need to invest in a top-quality soldering iron or hot air soldering gun to get the best results from your SMD soldering efforts.
Before you can go further, you’ll need to clean off the PCB thoroughly to ensure that it’s completely clean and dry; a little isopropyl alcohol will often do a good job in this regard. Once you’re satisfied that the PCB has been cleaned thoroughly, you can then begin looking at applying solder paste. Of course, how you apply the solder paste will generally depend on the complexity of your PCB, so if you’ve got a more intricate PCB to apply solder paste to, you may need a stencil. Luckily, if this proves tricky, you can simply clean it off and try again.
Once the solder paste is accurately in place, you’ll be able to then start placing the components, which is often one of the more complex aspects of SMD soldering. Then, simply reflow the solder using a hot air soldering gun (or a reflow oven, if you happen to have one).
Lastly, all that’s left to do is clean up your PCB and remove any solder residue. After this point, you should be able to then clean up the PCB and allow it to dry.
How to Solder SMD Components Step by Step
Once your PCB, components, and tools are ready, you can begin soldering SMD components. The exact technique depends on the component package and whether you are using a soldering iron or hot air rework station, but the basic workflow remains similar.
Step 1: Prepare and Clean the PCB
Clean the PCB pads with isopropyl alcohol and allow the surface to dry completely.
Inspect the pads before placing the component. Oxidation, dirt, or excessive solder residue can prevent the solder from flowing correctly.
For small SMD components, make sure the PCB is firmly secured so it does not move during soldering.
Step 2: Apply Flux
Apply a small amount of flux to the pads.
Flux helps solder flow across the pad and component termination while reducing oxidation during heating. For fine-pitch components, controlled flux application can also help reduce solder bridging.
Avoid applying excessive flux, especially when working around closely spaced components.
Step 3: Position the SMD Component
Use ESD-safe tweezers to position the component accurately on its pads.
For components with multiple leads, check the orientation and alignment before soldering. A small misalignment can cause several pins to connect incorrectly.
For a simple two-terminal component, such as an SMD resistor or capacitor, make sure both ends are centered over the corresponding pads.
Step 4: Tack-Solder One Side
For manual soldering with an iron, heat one pad and apply a small amount of solder.
While the solder is molten, position the component with tweezers and allow the solder to secure one side.
Remove the heat and let the solder solidify.
This temporary connection keeps the component in position while you solder the remaining terminals.
Step 5: Solder the Remaining Pads
Apply a controlled amount of solder to the remaining pads.
Keep the soldering tip in contact with the joint only long enough to create a proper connection. Avoid adding excessive solder, especially on fine-pitch components.
For ICs with multiple pins, drag soldering can be used with an appropriate tip and sufficient flux.
Step 6: Inspect the Solder Joints
After soldering, inspect the component under magnification.
Look for:
- Solder bridges between adjacent pads
- Insufficient solder
- Uneven solder coverage
- Misaligned components
- Cold or poorly formed joints
If a defect is found, apply flux and rework the affected area rather than adding more solder blindly.
Step 7: Clean and Test the PCB
Remove remaining flux residue when appropriate using isopropyl alcohol and a suitable lint-free wipe or brush.
After the board is clean and dry, check for shorts or unwanted connections before powering the circuit.
This basic workflow is suitable for many common SMD components and can be adapted according to the component package and soldering method.
How to Solder Different Types of SMD Components
The basic SMD soldering process is similar across many components, but the technique changes according to the package size and number of terminals.
SMD Resistors and Capacitors
Small two-terminal components such as resistors and capacitors are among the easiest SMD components to solder manually.
Apply a small amount of solder to one pad first. Position the component with tweezers, heat the pre-tinned pad, and allow the component to settle into position.
Then solder the opposite terminal and check both joints under magnification.
SMD Diodes and LEDs
Diodes and LEDs require additional attention to orientation.
Before soldering, identify the polarity marking on both the component and PCB. Position the component correctly, tack one side, and then solder the remaining terminal.
Do not apply unnecessary heat for an extended period, especially when working with heat-sensitive LEDs.
SMD ICs
Multi-pin ICs require more precise alignment than two-terminal components.
For small-pitch packages such as SOIC, QFP, or similar devices, apply flux and carefully align the component with the PCB pads. Tack one or two pins to secure the package before soldering the remaining pins.
Drag soldering with a suitable soldering tip can help create multiple connections efficiently. If solder bridges appear, remove the excess solder with solder wick and additional flux.
QFN and Other Bottom-Terminated Packages
Packages with contacts underneath the component are more challenging because the solder joints are not fully visible after placement.
These applications may require solder paste, controlled reflow, or hot air techniques. Careful paste application and thermal control are particularly important because excessive solder can create problems beneath the package.
Common SMD Soldering Problems and How to Fix Them
Even with the right tools, beginners may encounter several common SMD soldering problems.
Solder Bridges
A solder bridge occurs when excess solder connects two adjacent pads or pins.
Possible causes:
- Too much solder
- Insufficient flux control
- Excess solder on the tip
- Incorrect soldering technique
Apply flux and use solder wick to remove the excess solder. For fine-pitch ICs, drag soldering with controlled solder volume can also help.
Cold Solder Joints
A cold joint may occur when the pad or component terminal does not receive enough heat.
The result can be an incomplete or unreliable electrical connection.
Make sure the soldering tip contacts the joint properly and that enough heat is transferred to both surfaces before applying solder.
Component Movement
Small SMD components can move during soldering, particularly when using hot air.
Excessive airflow is a common cause.
Reduce the airflow and use the smallest practical heating area for the component.
Insufficient Solder
Too little solder can result in an incomplete connection.
If the joint does not adequately cover the pad and component termination, apply a controlled amount of additional solder and inspect the result under magnification.
Excessive Heat
Too much heat can damage components or PCB pads.
Avoid compensating for poor heat transfer by simply increasing the temperature. Instead, check the solder type, flux, tip condition, airflow, and contact technique.
Soldering Iron vs. Hot Air for SMD Soldering
Both a soldering iron and a hot air rework station can be used for SMD work, but they are suited to different tasks.
| Tool | Best For |
|---|---|
| Soldering iron | Individual pads, small components, manual SMD assembly |
| Hot air rework station | Multi-pin ICs, component removal, localized reflow |
| Solder paste + hot air | Reflowing multiple SMD connections |
| Soldering iron + flux | Precision corrections and individual joints |
A soldering iron is often the simplest option for beginners working with individual SMD components. It provides direct control over a specific solder joint and does not require solder paste or a hot air system.
A hot air rework station becomes more useful when several solder joints need to be heated simultaneously. It is particularly useful for removing or replacing multi-pin ICs and for localized reflow work.
For more complex PCB repair, technicians often use both tools. A soldering iron can handle individual joints and corrections, while hot air can be used for component removal and broader reflow.
The best choice therefore depends on the component package, PCB layout, and type of work rather than simply choosing the most powerful tool.
Final Thoughts
If you have been looking for a new approach to soldering, SMD soldering might just be a good solution. Indeed, SMD soldering is both a practical and simple solution for soldering, and this can make it an excellent option for those needing a new way to work on their own electrical components.
In line with this, if you have any further questions or queries about what SMD soldering is or how to get started, please don’t hesitate to get in touch with our friendly experts at info@gordakelec.com. We’re here to help you find the ideal soldering approach for your needs!
Soldering Basics & Tutorials
A Step-by-Step Guide to the Soldering Process
An Introduction to SMD Soldering Techniques
A Beginner’s Guide to SMD Soldering
DIY PCB Soldering: Tools, Tips, and Techniques
How to Use a Soldering Iron – A Beginner’s Guide
Essential Tools and Supplies for Soldering Beginners
Essential Electronics Soldering Tips and Tricks for Beginners
Essential Tools for Soldering Circuit Boards
The Importance of Soldering in Electronics