Printed circuit boards (PCBs) are the foundation of most electronic devices. Whether you’re building a hobby project, repairing a gadget, or practicing your skills, DIY PCB soldering can be both rewarding and challenging. With the right tools, techniques, and a bit of patience, anyone can learn to solder PCBs effectively.
Essential Tools for PCB Soldering
Before you begin, make sure you have the following tools ready:
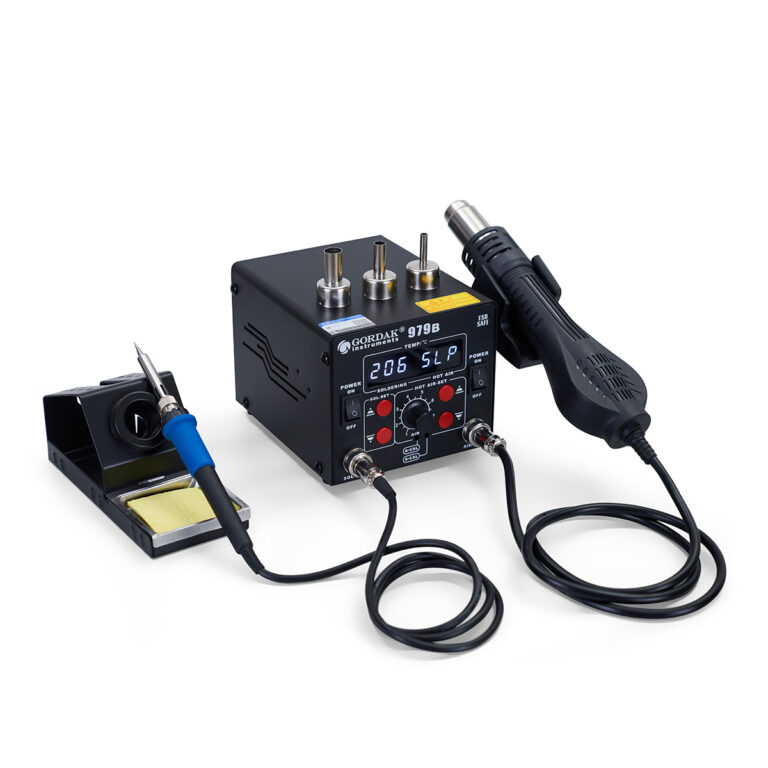
- Soldering Station – Offers adjustable temperature control for precise soldering.
- Soldering Iron Tips – Fine tips are best for small PCB pads and SMD components.
- Solder Wire – Lead-free or leaded solder, depending on your project.
- Flux – Helps solder flow smoothly and prevents oxidation.
- Desoldering Pump or Wick – For correcting mistakes and removing excess solder.
- Tweezers – Useful for placing and holding small components.
- Magnifying Lamp or Microscope – Enhances visibility when working with tiny components.
- PCB Holder or Helping Hands – Keeps the board stable while soldering.

Tips for Successful DIY PCB Soldering
- Start with Clean Components and Pads
Dust or oxidation can prevent solder from bonding properly. Clean the PCB pads and component leads before starting. - Use the Right Temperature
For most electronics work, 300–350°C is sufficient. Too much heat can damage components or lift PCB pads. - Apply Flux Liberally
Flux improves solder flow and prevents cold joints, especially when working with fine-pitch components. - Work in a Well-Lit Environment
Good lighting ensures accuracy and helps you spot mistakes before they cause bigger problems. - Practice on Scrap Boards
If you’re new, practice on old or spare PCBs before tackling your main project.
Techniques for PCB Soldering
- Through-Hole Soldering
Insert the component leads into the holes, heat the pad and lead simultaneously, then feed in solder. A cone-shaped joint indicates a good connection. - Surface-Mount Soldering (SMD)
Apply flux, place the component with tweezers, tack down one lead, then solder the rest. Hot air rework stations can also be used for SMD parts. - Rework and Repairs
If you make a mistake, use desoldering wick or a pump to remove solder. For BGA and fine-pitch ICs, a rework station provides better results.
Final Thoughts
DIY PCB soldering takes practice, but with the right tools and techniques, you can achieve professional results at home. Start with simple projects and gradually work your way up to more complex boards. Remember—patience and steady hands are just as important as the tools you use.
About GORDAK
Gordak is a leading manufacturer of soldering and rework equipment, providing high-quality, reliable, and innovative tools for electronics professionals worldwide. With over 30 years of industry experience, Gordak combines advanced technology, precise temperature control, and ESD-safe designs to meet the needs of SMD and through-hole soldering applications. Committed to excellence, Gordak offers affordable solutions, responsive customer support, and products trusted by clients across the globe.
Soldering Basics & Tutorials
A Step-by-Step Guide to the Soldering Process
An Introduction to SMD Soldering Techniques
A Beginner’s Guide to SMD Soldering
DIY PCB Soldering: Tools, Tips, and Techniques
How to Use a Soldering Iron – A Beginner’s Guide
Essential Tools and Supplies for Soldering Beginners
Essential Electronics Soldering Tips and Tricks for Beginners
Essential Tools for Soldering Circuit Boards
The Importance of Soldering in Electronics