Soldering is not just about melting solder onto a pad—it’s about controlling heat precisely to create strong, reliable connections without damaging components. Correct heating techniques are crucial for electronics, PCB assembly, and SMD work. This guide explains how to heat solder joints properly to achieve professional results.
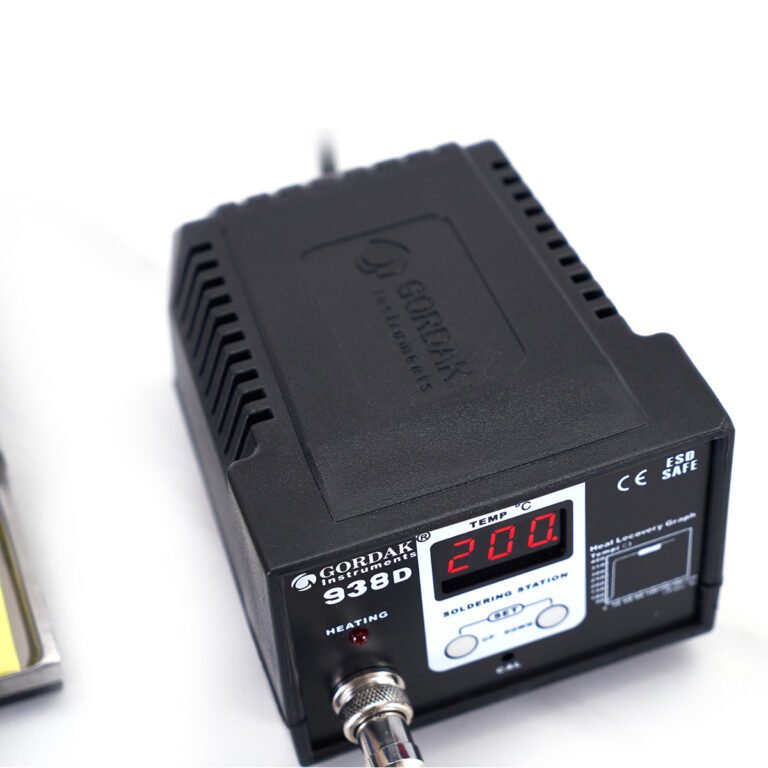
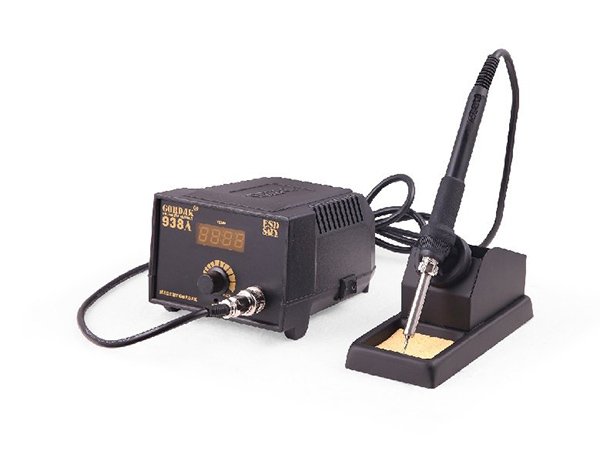
1. Preheat the Soldering Station
- Set your soldering station to the recommended temperature:
- 320–350°C for leaded solder
- 350–370°C for lead-free solder
- Allow a few minutes for the station to stabilize at the target temperature. Preheating ensures consistent heat transfer.
2. Tin the Tip
- Apply a small amount of solder to coat the tip before use.
- Tinning improves thermal conductivity and protects the tip from oxidation, allowing heat to transfer efficiently to the joint.
3. Heat Both the Pad and Component Lead
- Place the soldering tip in contact with both the PCB pad and the component lead simultaneously.
- Hold for 1–3 seconds, allowing the metal surfaces to reach the proper temperature before adding solder.
- Avoid heating only one side, which can create a cold joint.
4. Apply Solder Correctly
- Feed solder wire directly to the heated joint, not the tip.
- The solder should flow smoothly, covering the pad and lead evenly.
- Remove the solder first, then the iron, to avoid lumps or bridging.
5. Avoid Overheating
- Excessive heat can damage components, pads, or PCB traces.
- Always use the lowest effective temperature that melts solder efficiently.
- Limit the contact time to 2–4 seconds for small joints, longer only for larger components.
6. Post-Solder Cleaning and Inspection
- Use isopropyl alcohol to remove flux residue, improving reliability and preventing corrosion.
- Inspect the joint: it should be shiny, smooth, and slightly concave.
- Rework any dull, cracked, or bridged joints immediately.
7. Safety Considerations
- Use a fume extractor or work in a ventilated area to avoid inhaling fumes.
- Never touch the hot tip or heated parts.
- Wear eye protection if solder may splatter.
- Use ESD protection when working on sensitive electronics.

Quick Reference: Do’s and Don’ts of Heating Solder Joints
| ✅ Do’s | ❌ Don’ts |
|---|---|
| Preheat your soldering station to the correct temperature | Use maximum heat unnecessarily |
| Always tin the tip before soldering | Solder with an oxidized or dirty tip |
| Heat both the pad and the component lead at the same time | Apply solder directly onto the iron tip |
| Use the lowest effective temperature | Overheat sensitive components or pads |
| Remove solder first, then the iron | Pull the iron away first, causing messy joints |
| Keep contact time short (2–4 seconds) | Leave the iron on the joint too long |
| Clean flux residue after soldering | Leave residue that may cause corrosion |
| Inspect joints for shininess and shape | Ignore dull, cracked, or bridged joints |
Conclusion
Mastering correct heating techniques is essential for successful soldering. By preheating properly, tinning the tip, heating both surfaces, and controlling temperature and timing, you can produce clean, reliable, and professional-quality solder joints every time.
About GORDAK
GORDAK has over 30 years of experience manufacturing soldering and rework equipment. Known for high-quality, reliable, and innovative tools, GORDAK provides:
- Advanced temperature-controlled soldering stations
- ESD-safe designs for sensitive electronics
- A wide range of soldering tips for precision and versatility
- Affordable solutions trusted by electronics professionals worldwide
Contact: info@gordakelec.com
Soldering Basics & Tutorials
A Step-by-Step Guide to the Soldering Process
An Introduction to SMD Soldering Techniques
A Beginner’s Guide to SMD Soldering
DIY PCB Soldering: Tools, Tips, and Techniques
How to Use a Soldering Iron – A Beginner’s Guide
Essential Tools and Supplies for Soldering Beginners
Essential Electronics Soldering Tips and Tricks for Beginners
Essential Tools for Soldering Circuit Boards
The Importance of Soldering in Electronics


