Soldering is the foundation of modern electronics assembly and repair. Whether you are connecting components to a circuit board, fixing broken wires, or working on SMD parts, mastering the soldering process is essential. This guide will walk you through the step-by-step soldering process, helping beginners and hobbyists build confidence while ensuring professional-quality results.
Step 1: Gather the Necessary Tools and Materials
Before starting, prepare your soldering kit:
- Soldering station or iron with the right tip
- Solder wire (leaded or lead-free, flux core recommended)
- Flux (liquid, paste, or pen)
- PCB or components to solder
- Tweezers and cutters
- Desoldering tools (braid or pump)
- Safety gear (fume extractor, heat-resistant mat, ESD strap)
Step 2: Prepare the Components and Work Area
- Clean the PCB pads to remove oxidation or residue.
- Position components correctly and secure the board with a PCB holder or “third hand.”
- Ensure the workspace is well-lit and ventilated.
Step 3: Heat the Joint
- Set the soldering station to the appropriate temperature (typically 320°C–370°C for leaded solder, slightly higher for lead-free).
- Place the heated soldering tip against both the component lead and the PCB pad for a few seconds.
- Avoid touching plastic parts to prevent damage.
Step 4: Apply the Solder
- Feed solder wire into the heated joint—not directly onto the tip.
- Allow solder to melt and flow around the connection.
- Remove the solder wire first, then the iron.
- A good joint should look shiny, smooth, and slightly concave.
Step 5: Inspect the Joint
Check for:
- Cold joints (dull or cracked appearance)
- Bridging (excess solder connecting two pads)
- Insufficient solder (weak connection)
Reheat or rework the joint if necessary.
Step 6: Clean the Board
- Use isopropyl alcohol and a brush to remove excess flux.
- This improves reliability and prevents corrosion over time.
Step 7: Power On and Test
- After soldering, test the circuit for continuity and functionality.
- Ensure there are no shorts before applying full power.
Safety Tips
- Always use a fume extractor or fan.
- Never cool the soldering iron in water—it damages the tip.
- Keep your tools tinned and clean for longer life.
Conclusion
The soldering process may seem intimidating at first, but with the right tools, preparation, and practice, anyone can create reliable and professional solder joints. By following these steps, you can confidently tackle PCB assembly, electronics repair, and DIY projects.
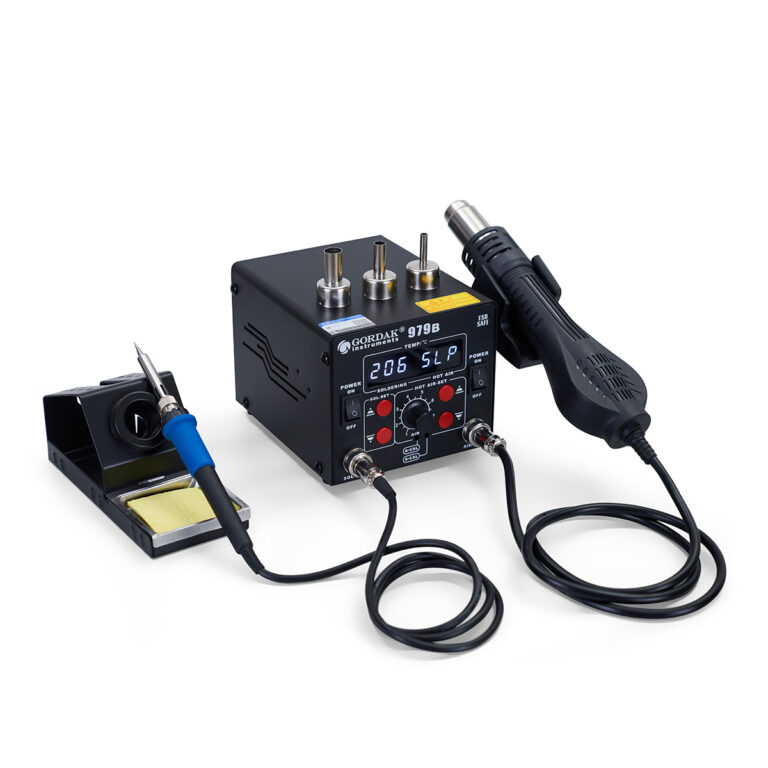
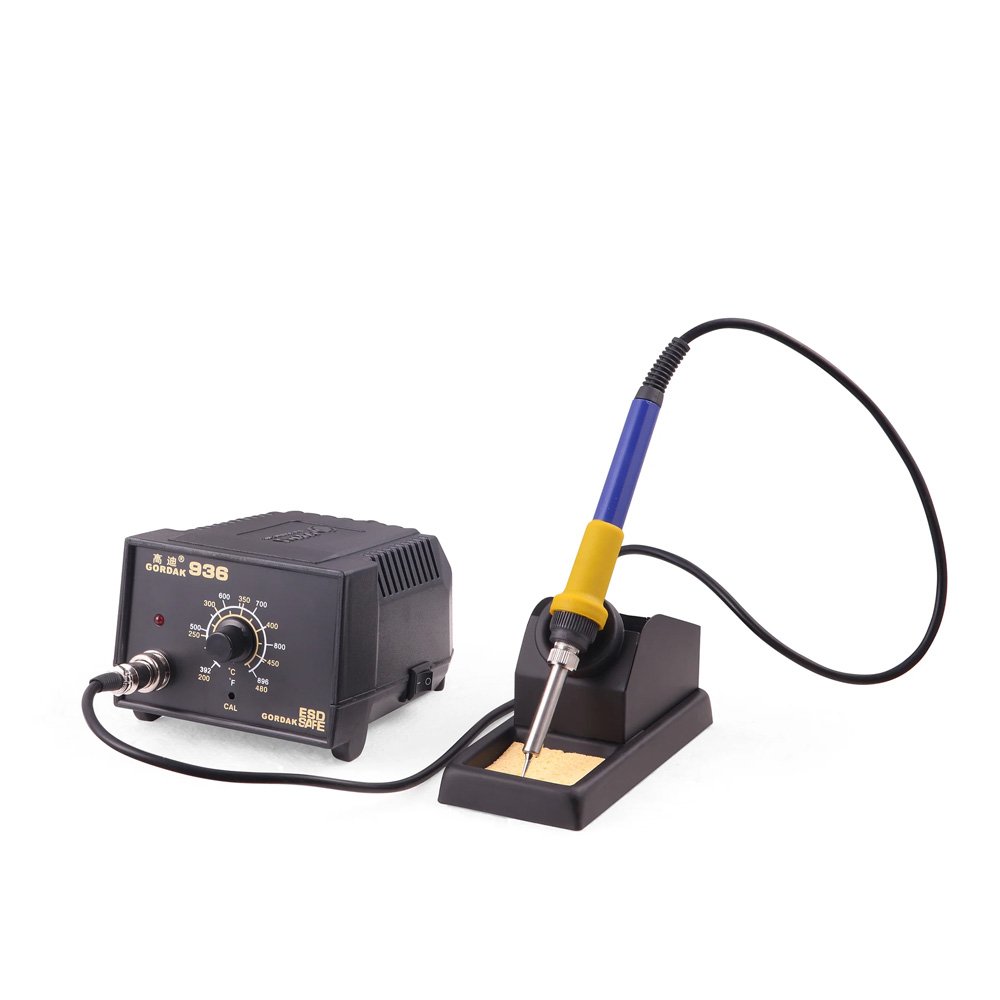
About GORDAK
With over 30 years of industry experience, GORDAK is a trusted name in soldering and rework equipment. Offering precision-controlled soldering stations, hot air rework systems, and high-quality soldering tips, GORDAK ensures users achieve perfect results in both SMD and through-hole applications. Known for reliability and affordability, GORDAK products are trusted worldwide by electronics professionals and educators alike.
Contact us: info@gordakelec.com
Soldering Basics & Tutorials
A Step-by-Step Guide to the Soldering Process
An Introduction to SMD Soldering Techniques
A Beginner’s Guide to SMD Soldering
DIY PCB Soldering: Tools, Tips, and Techniques
How to Use a Soldering Iron – A Beginner’s Guide
Essential Tools and Supplies for Soldering Beginners
Essential Electronics Soldering Tips and Tricks for Beginners
Essential Tools for Soldering Circuit Boards
The Importance of Soldering in Electronics