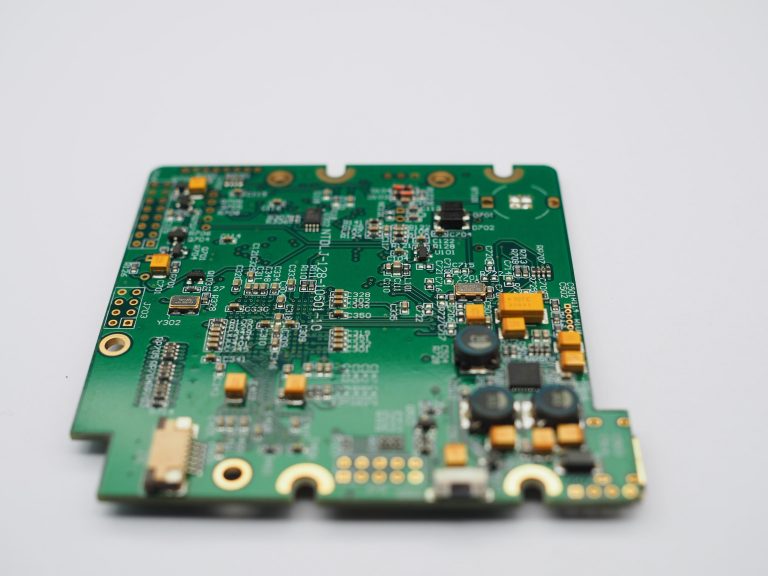
Surface-mount devices (SMDs) are widely used in modern electronics because they allow for compact, efficient circuit designs. Unlike traditional through-hole components, SMDs are soldered directly onto the surface of a PCB, which requires precision and proper technique. This guide introduces beginners to essential SMD soldering methods, tools, and tips to ensure clean, reliable connections.
SMD Soldering at a Glance
SMD components can be soldered by hand with a temperature-controlled soldering iron, while hot air or reflow methods are better suited to certain packages and multi-component assemblies. The right method depends on the component package, pad size, solder type, PCB design, and the level of precision required.
For basic SMD repair and prototyping, the typical workflow is:
- Inspect and clean the PCB pads.
- Apply an appropriate amount of flux.
- Tin one pad.
- Position the component with tweezers.
- Tack one side of the component.
- Align the component with the pads.
- Solder the remaining connection.
- Reflow and inspect the first joint if necessary.
- Check the finished solder joints for bridges, insufficient wetting, or component misalignment.
For more complex packages, such as fine-pitch ICs or components with connections underneath the package, hot air rework or other specialized techniques may provide better results.
Essential Tools for SMD Soldering
Before you start, make sure you have the right equipment:
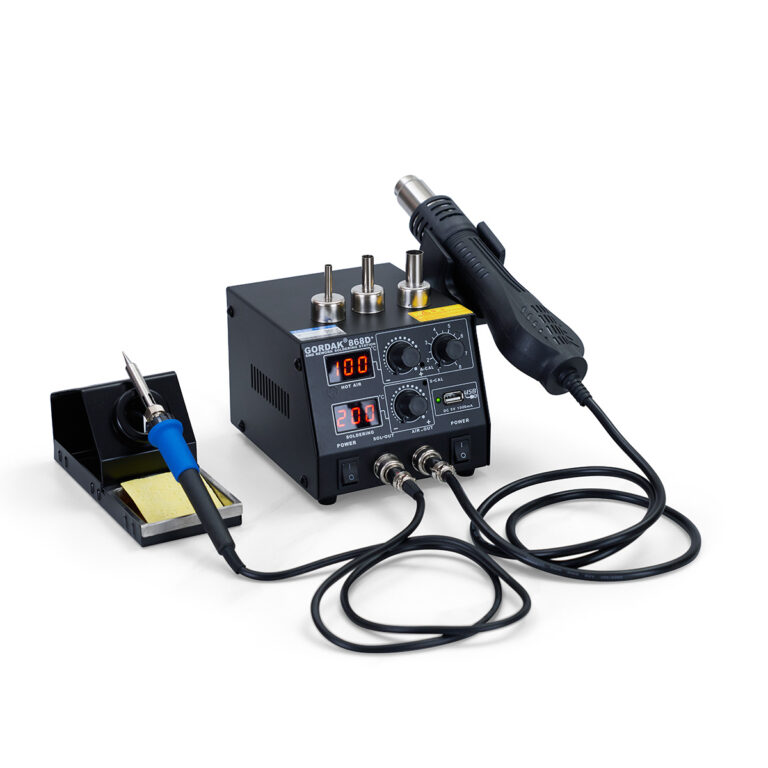
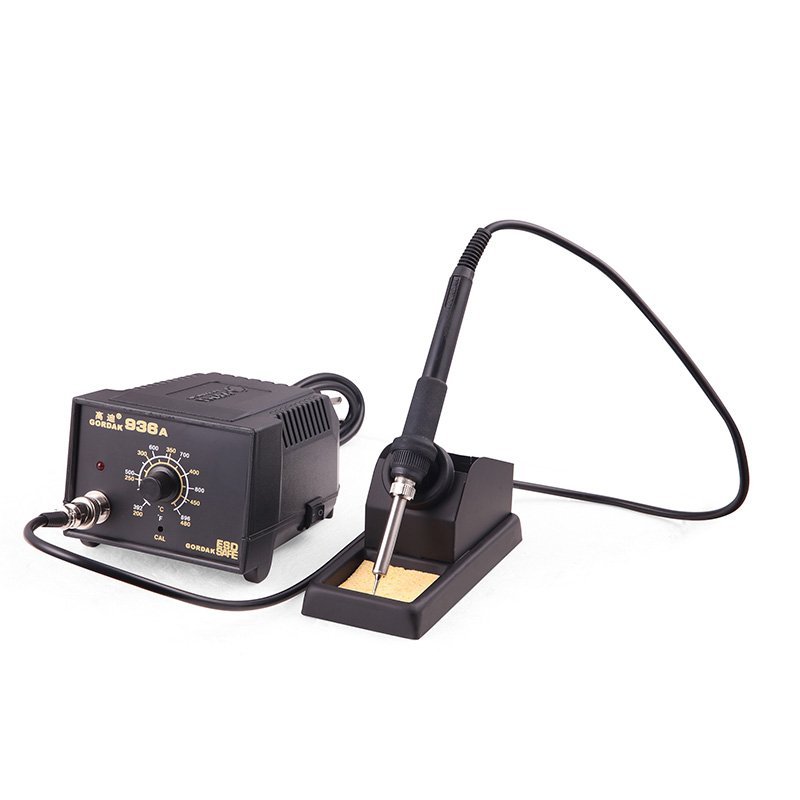
- Soldering Station with Fine Tips – Temperature control and small, precise tips are essential for tiny SMD pads.
- Solder Wire and Flux – Thin, flux-core solder works best for small joints.
- Tweezers – Fine-point tweezers help position and hold components.
- Hot Air Rework Station – Ideal for soldering or desoldering SMD ICs and components.
- Magnification Tools – A magnifying lamp or microscope helps you see fine-pitch components.
- PCB Holder – Keeps your board stable during soldering.
How to Prepare a PCB for SMD Soldering
Before soldering an SMD component, inspect the PCB pads and surrounding area for oxidation, contamination, damaged traces, or excess solder from previous work. A clean and intact pad surface helps solder wet the copper properly and makes component positioning easier.
Clean the Solder Pads
Remove old solder and visible contamination when necessary. For repair work, solder wick can help remove excess solder from pads, but avoid applying unnecessary mechanical force that could damage the pad.
Check Pad Alignment
Make sure the component footprint matches the component being installed. The pads should be clearly visible and free from debris that could interfere with soldering.
Apply Flux When Needed
Flux helps remove surface oxides and improves solder wetting. Apply only enough flux to support solder flow. Excessive flux is not necessarily better and may leave unnecessary residue that requires cleaning.
Secure the PCB
Use a PCB holder or fixture to keep the board stable. A moving PCB makes it more difficult to position small SMD components accurately and can increase the risk of disturbing a solder joint while it is cooling.
Key SMD Soldering Techniques
1. Hand Soldering
- Apply flux to the pads.
- Position the component with tweezers.
- Heat one pad with the soldering iron and tack down the component.
- Solder the remaining pads while ensuring minimal solder bridges.
2. Drag Soldering
- Useful for ICs with multiple pins in a row.
- Apply flux along the pin row.
- Use a fine chisel tip to drag a small amount of solder across the pins, forming connections simultaneously.
- Remove solder bridges with solder wick if needed.
3. Hot Air Reflow Soldering
- Apply solder paste to the pads.
- Position components accurately.
- Use a hot air rework station to evenly heat the area until solder melts and flows.
- Allows for precise, consistent results on multiple small components.
4. Rework and Repairs
- Use a hot air station or solder wick to remove defective SMDs.
- Clean the pads thoroughly before placing a new component.
How to Solder SMD Components Step by Step
Hand soldering is suitable for many SMD repair and prototyping tasks, especially when working with accessible pads and components that can be positioned accurately with tweezers.
Step 1: Inspect the Component and PCB
Check the component orientation, package type, and PCB footprint before applying heat. Make sure the pads are clean and free from excessive solder.
Step 2: Apply Flux
Apply a small amount of flux to the pads. Flux improves solder wetting and helps solder flow across the joint.
Step 3: Tin One Pad
Place a small amount of solder on one pad while heating the pad with the soldering iron. Avoid adding excessive solder at this stage because the component still needs to sit flat on the PCB.
Step 4: Position the Component
Hold the SMD component with fine-point tweezers and align it with the PCB footprint. Keep the component stable while heating the tinned pad.
Step 5: Tack the First Side
Reheat the tinned pad and allow the solder to melt. Move the component into its correct position while the solder is molten, then remove the iron and allow the joint to cool.
Step 6: Solder the Remaining Pad or Pins
Once the component is correctly aligned, solder the remaining connection. Use enough solder to create a properly wetted joint without covering adjacent pads.
Step 7: Recheck the First Joint
If necessary, briefly reheat the first joint to improve its shape and wetting. Avoid prolonged heating that could stress the component or PCB pad.
Step 8: Inspect the Finished Joint
Check the component alignment and solder joints under suitable lighting or magnification. Look for solder bridges, insufficient wetting, excessive solder, or movement of the component.
This one-pad-first method gives the technician greater control over component alignment and is particularly useful for small passive SMD components.
How to Solder Different SMD Packages
The best SMD soldering technique depends on the package size, pin spacing, and accessibility of the solder joints. A method that works well for a 0805 resistor may not be suitable for a fine-pitch QFP or a QFN package.
0805 and 0603 Components
0805 and 0603 resistors and capacitors can generally be soldered by hand with a fine or medium-sized soldering tip. A small amount of solder and controlled heat are usually sufficient.
Tack one pad first, align the component, and then solder the opposite pad.
0402 and Smaller Components
0402 components require more precise handling because of their small size. Fine-point tweezers, a suitable soldering tip, good lighting, and magnification can make positioning and inspection easier.
Avoid applying excessive solder because it can easily connect adjacent pads or make component alignment difficult.
SOT Packages
SOT packages can generally be soldered by hand when the pins are accessible. Apply flux and control the amount of solder carefully to avoid bridging adjacent leads.
SOIC and SOP Packages
SOIC and SOP packages can be soldered with a fine-tip iron. For multiple pins, drag soldering can make the process faster and more consistent when used with appropriate flux and solder.
QFP Packages
Fine-pitch QFP packages require careful alignment and controlled solder application. Drag soldering is commonly used for these packages because one solder-loaded tip can move across multiple leads.
If solder bridges form between adjacent pins, excess solder can be removed with solder wick and additional flux.
QFN Packages
QFN packages are more challenging because some or all of their connections are located underneath the package. Depending on the design and accessibility, hot air, solder paste, or other rework methods may be more appropriate than conventional hand soldering.
The thermal requirements also depend on the exposed pad and the PCB design.
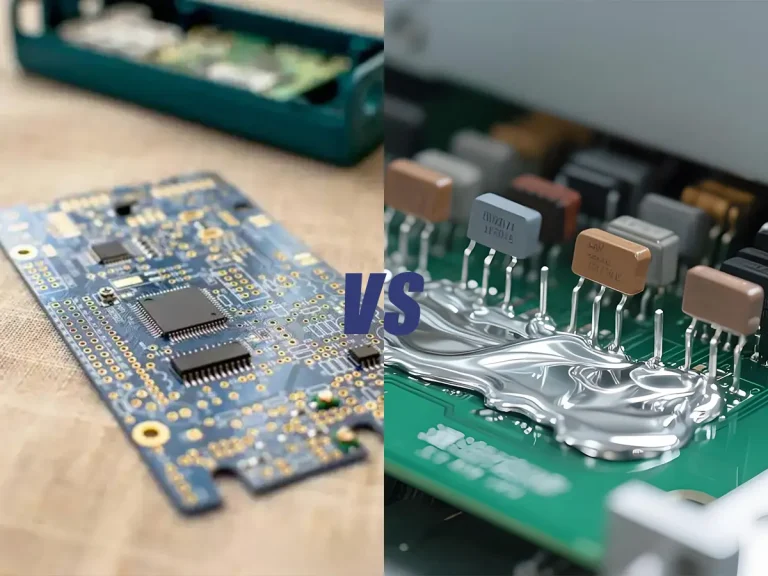
Solder Wire vs. Solder Paste for SMD Soldering
Both solder wire and solder paste can be used for SMD work, but they are better suited to different soldering methods.
Solder Wire
Solder wire is convenient for manual soldering and PCB repair. It allows the technician to add solder directly to individual pads or component leads.
It is particularly practical for:
- Hand soldering
- PCB repair
- Prototyping
- Reworking individual components
Solder Paste
Solder paste contains solder particles suspended in flux and is commonly used with stencils, hot air, reflow systems, and other processes designed to place solder on multiple pads.
It is useful when:
- Multiple SMD components need to be assembled
- A stencil is available
- Reflow soldering is being used
- Fine-pitch components require controlled solder deposition
For individual repair work, solder wire is often simpler. For repeated assembly of multiple SMD components, solder paste can provide a more efficient workflow.
Common SMD Soldering Problems and How to Fix Them
| Problem | Possible Cause | Recommended Action |
|---|---|---|
| Solder will not wet the pad | Oxidation, contamination, insufficient flux | Clean the pad and apply appropriate flux |
| Solder bridge | Excess solder or poor solder control | Apply flux and remove excess solder with solder wick |
| Cold solder joint | Insufficient heat or poor wetting | Reheat the joint and improve heat transfer |
| Component moves during soldering | Poor initial positioning or excessive airflow | Tack one side first and stabilize the component |
| Tombstoning | Uneven heating or solder distribution | Check pad condition and solder distribution |
| Excess solder | Too much solder applied | Remove excess solder with solder wick |
| Pad lifting | Excessive heat or mechanical force | Reduce heating time and avoid pulling the component |
| Component overheating | Excessive temperature or contact time | Use appropriate temperature and shorter heating time |
The correct solution depends on the specific defect. Increasing soldering temperature is not always the answer. Problems with solder wetting, tip condition, flux, or heat transfer should be checked first.
Tips for Successful SMD Soldering
- Always work in a well-lit area with magnification for accuracy.
- Use steady hands and consider resting your wrist on the table.
- Apply flux generously to improve solder flow and reduce cold joints.
- Practice on scrap boards before attempting critical projects.
- Avoid excessive heat that can damage components or lift PCB pads.
Final Thoughts
SMD soldering may seem daunting at first, but with practice, the right tools, and proper technique, it becomes manageable. Mastering these methods will allow you to work on compact, high-density PCBs with confidence and precision.
About GORDAK
Gordak is a leading manufacturer of soldering and rework equipment, providing high-quality, reliable, and innovative tools for electronics professionals worldwide. With over 30 years of industry experience, Gordak combines advanced technology, precise temperature control, and ESD-safe designs to meet the needs of SMD and through-hole soldering applications. Committed to excellence, Gordak offers affordable solutions, responsive customer support, and products trusted by clients across the globe.
Soldering Basics & Tutorials
A Step-by-Step Guide to the Soldering Process
An Introduction to SMD Soldering Techniques
A Beginner’s Guide to SMD Soldering
DIY PCB Soldering: Tools, Tips, and Techniques
How to Use a Soldering Iron – A Beginner’s Guide
Essential Tools and Supplies for Soldering Beginners
Essential Electronics Soldering Tips and Tricks for Beginners
Essential Tools for Soldering Circuit Boards
The Importance of Soldering in Electronics